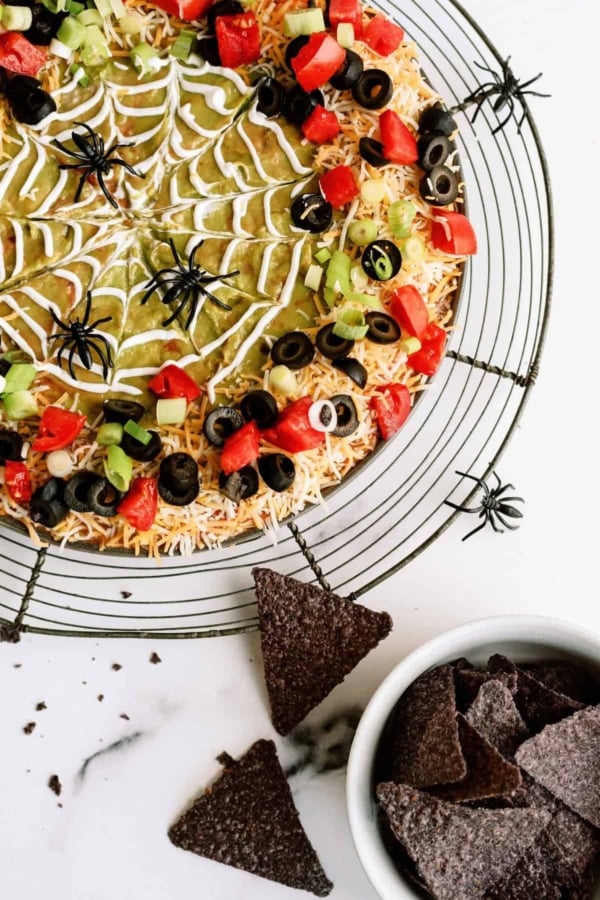
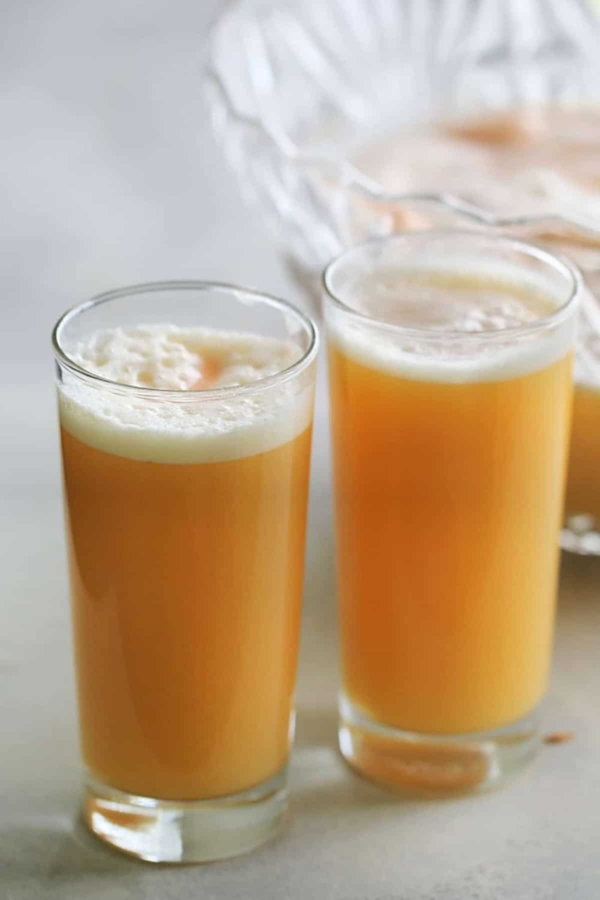
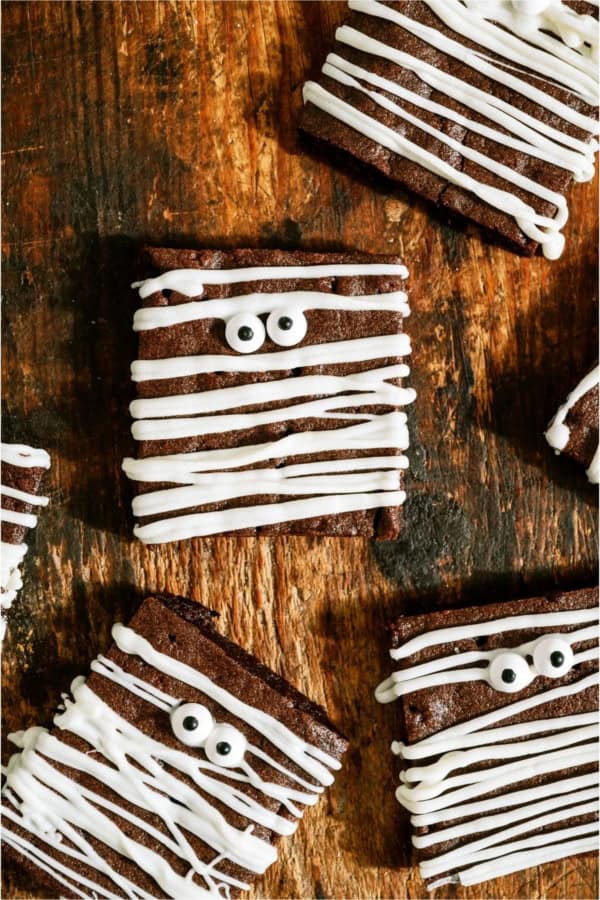
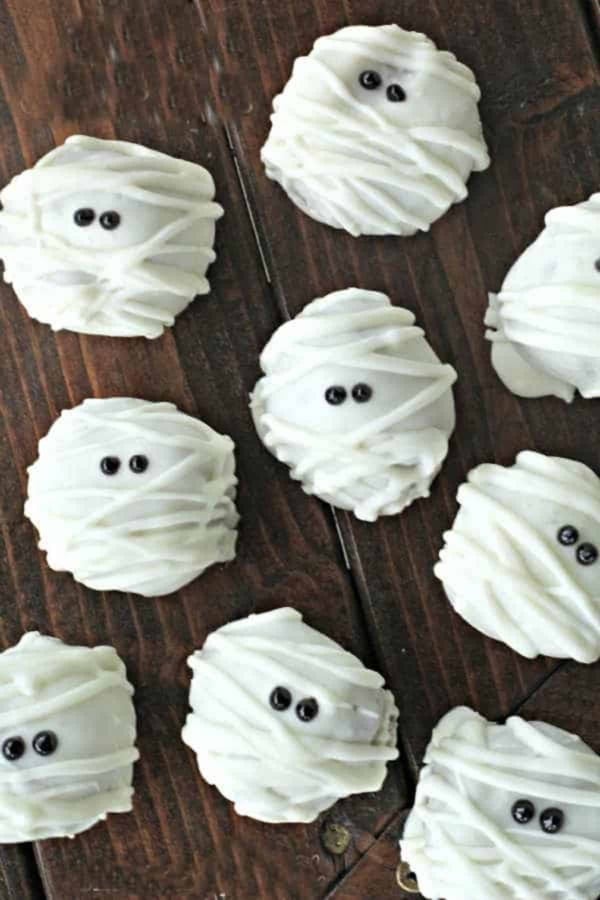
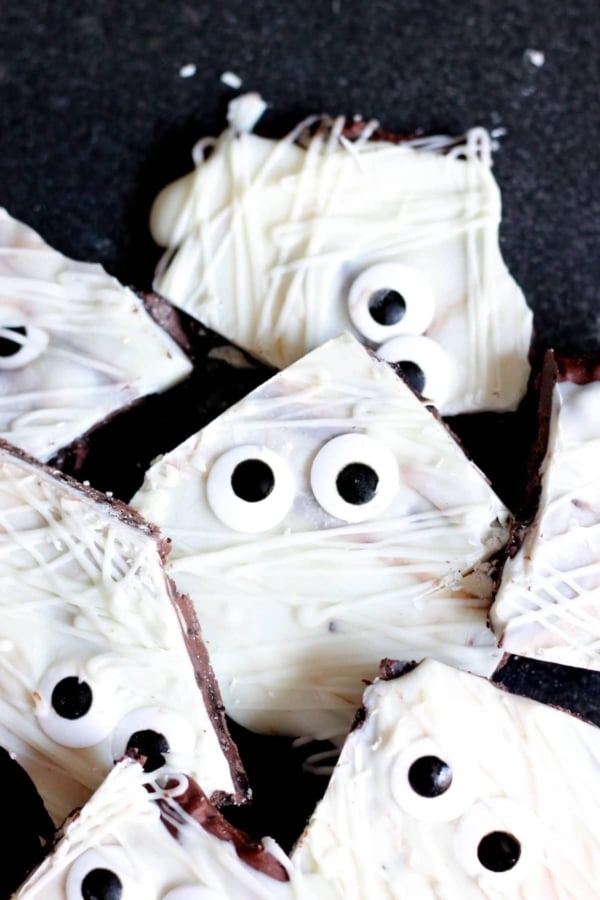
Last fall, we got Pottery Barn Kids’ latest catalog in the mail, complete with all their Halloween costumes. My little girl (who was 4 at the time) saw the Strawberry Fairy Costume and fell in love with it (her favorite doll was Strawberry Shortcake and she was in love with all things strawberry-related).
I thought that the costume was darling, but the price . . . not so much!
They were asking $79 for this costume!!!
You have got to be kidding me!
For one night of Trick or Treating and maybe a class party?!
There is no way my budget could ever afford that!
So after studying the costume, I decided that I could make it myself for A LOT LESS money.
I am happy to report that it turned out pretty good (especially with my very limited skills!).
I decided to share my tutorial a little before the Halloween season in case you wanted to make this costume for your little girl.
Disclaimer: I made this entire costume in one night. It took just under 2 hours from start to finish. I just popped in a movie and got to work. However, since I made it at night, the pictures are not that great. Sorry about that!
Here is what you will need to make your own costume:
-red long-sleeve shirt
(got mine at Wal-Mart for $5)
-red tulle
(I used 2 rolls- 25 yards x 6 inches and had just a little leftover. My girl wore a 4T at the time. I think that if you need bigger than a size 6, you might want to buy one more roll. I got my tulle at Hobby Lobby for $2.49 a roll)
-1″ elastic
(enough to go around waist 2 times- cost about $1.49)
-1 sheet black felt (25 cents)
-1/2 yard green felt ($2.50)
-butterfly wings
(I got a screaming deal on these wings- I found them at a Gymboree Outlet about 2 weeks before Halloween for only $5. I have also seen wings at Dollar Tree stores or you could make your own)
-skinny ribbon or a shoe lace
-scissors
-needle and thread
-glue gun
-hairbow (optional)
The first thing that I did was make the tulle skirt.
Measure your girl’s waist, then subtract about 2-3 inches (the elastic stretches!) and cut. So if your daughter’s waist measures 16″, you will want to cut your elastic about 13-14″ long. Sew your elastic ends together (you can do this by hand or on a sewing machine).
Next you will want to cut all your tulle. It’s easier to do this before you begin instead of as you go. Depending on how long or short you want the skirt will determine how long you cut each strip of tulle. I wanted mine to be about 15″ long, so I cut each strip of tulle about 30″ long (you will see that you tie a knot and fold over each strip, cutting the length in half).
Slip the elastic around your leg (yes, I am wearing pajamas and yes, those are my kids’ toys in the background . . . just ignore those things!) like a garter and get ready to tie some knots!
Take one piece of tulle and slip it under the elastic. Make the ends even so that there are equal amounts of tulle on each side and then tie a double knot.
Repeat over and over! Try to get the knots as close together as you can so it makes your skirt really full and doesn’t show much of the elastic.
When you are finished, trim up your ends so they are all even (this picture was taken pre-trimming!). The skirt will seriously stand on it’s own!
Next up is the strawberry seeds for the shirt. I just took the piece of felt and free-handed some strawberry seeds (don’t look too closely- they aren’t exactly all the same!). Once I got them all cut out, I positioned them on the shirt and sewed them on by hand (you could use a sewing machine if you want).
Next come the leaves. I free-handed a leaf shape like this in two different sizes- big ones to go around the waist and smaller ones to go around the collar.
Instead of attaching them directly to the skirt, I decided to use another piece of elastic and attach the leaves to that. I cut out about 5 large leaves and lined them up on the piece of elastic. I folded over the edge and glued it down using my hot glue gun. Once all the leaves were attached, I sewed the ends of the elastic together by hand. I tried to overlap the leaves a little bit- I think that if I were to make this again, I would make a couple more leaves and overlap them even more (maybe like 7 leaves), but it is totally a preference thing.
Last was the smaller leaves around the collar. I used a scrap piece of ribbon (but you could also use a shoe lace or even a piece of yarn!) and used the same technique as I did with the larger leaves. I didn’t end up sewing the ribbon ends together- I just tied a simple bow in the back to hold the collar of leaves on.
Now you just have to put the ensemble together! We paired it with a pair of black leggings, but you could really wear anything you want underneath.
Also, if you are looking for the tutorial on how to make that red flower bow, I just used the flower tutorial from this post and attached an alligator clip to the back so it would stay in her hair.
Grand total: $19.25.
Much better than $79 . . .
Looking for more Halloween costume ideas?
I love DIY Halloween costumes!
I would love for you to link up with my Halloween costumes post: http://www.creativelyblooming.com/2012/10/halloween-costumes-with-linky.html