
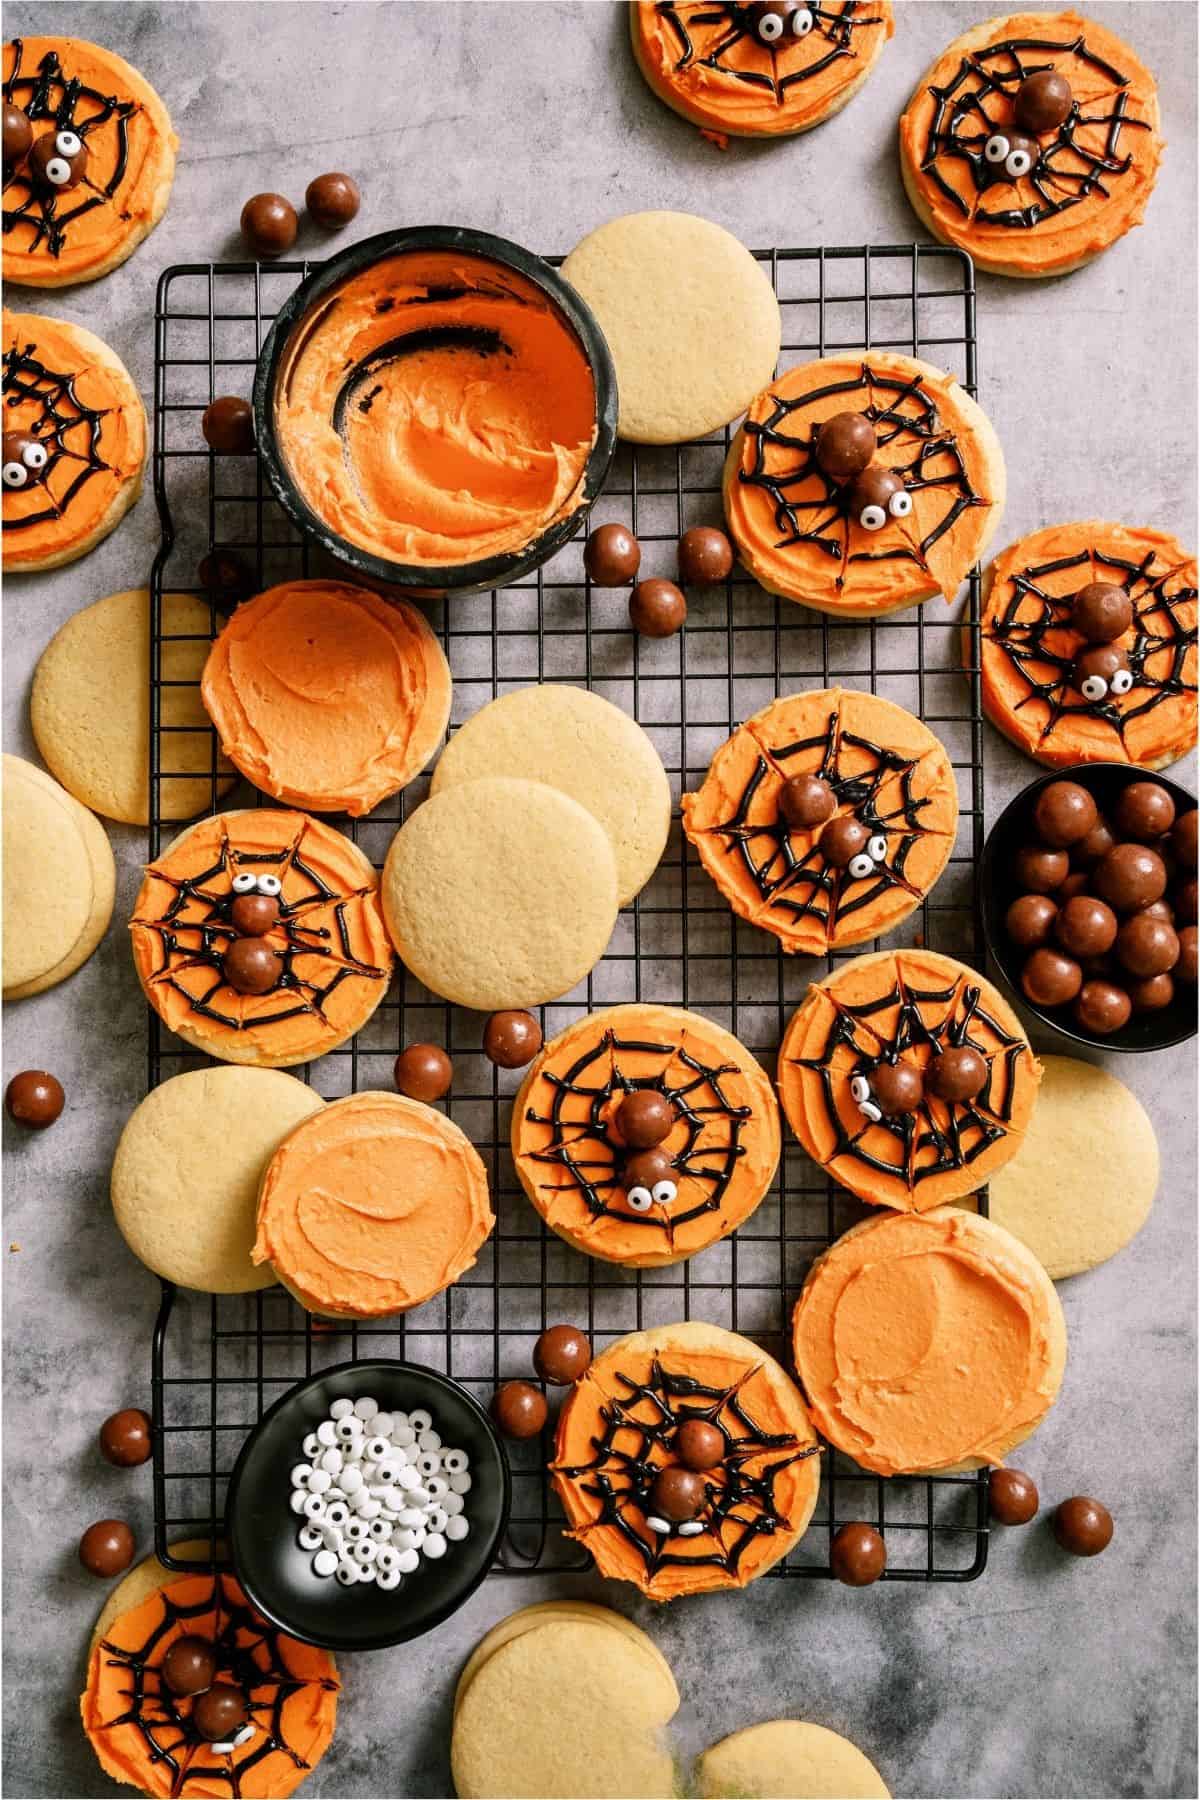
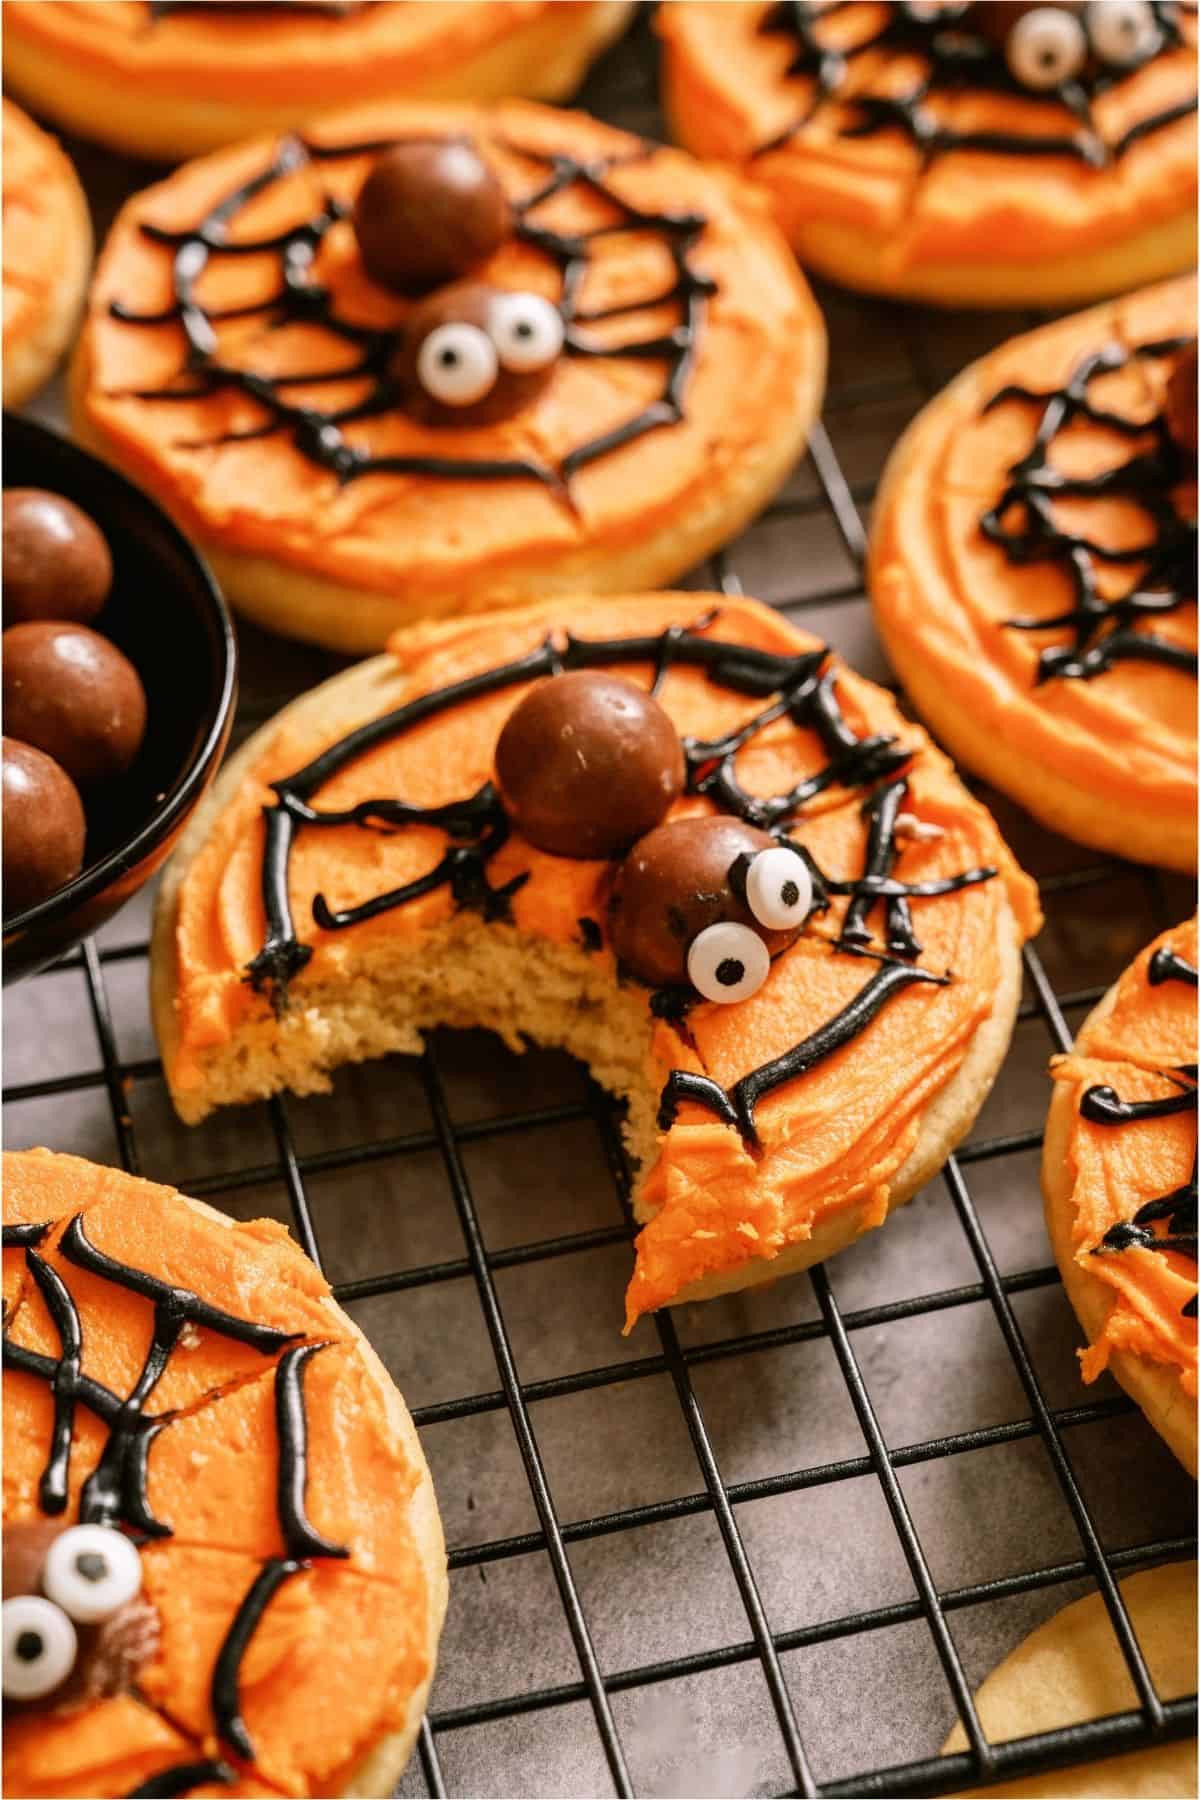
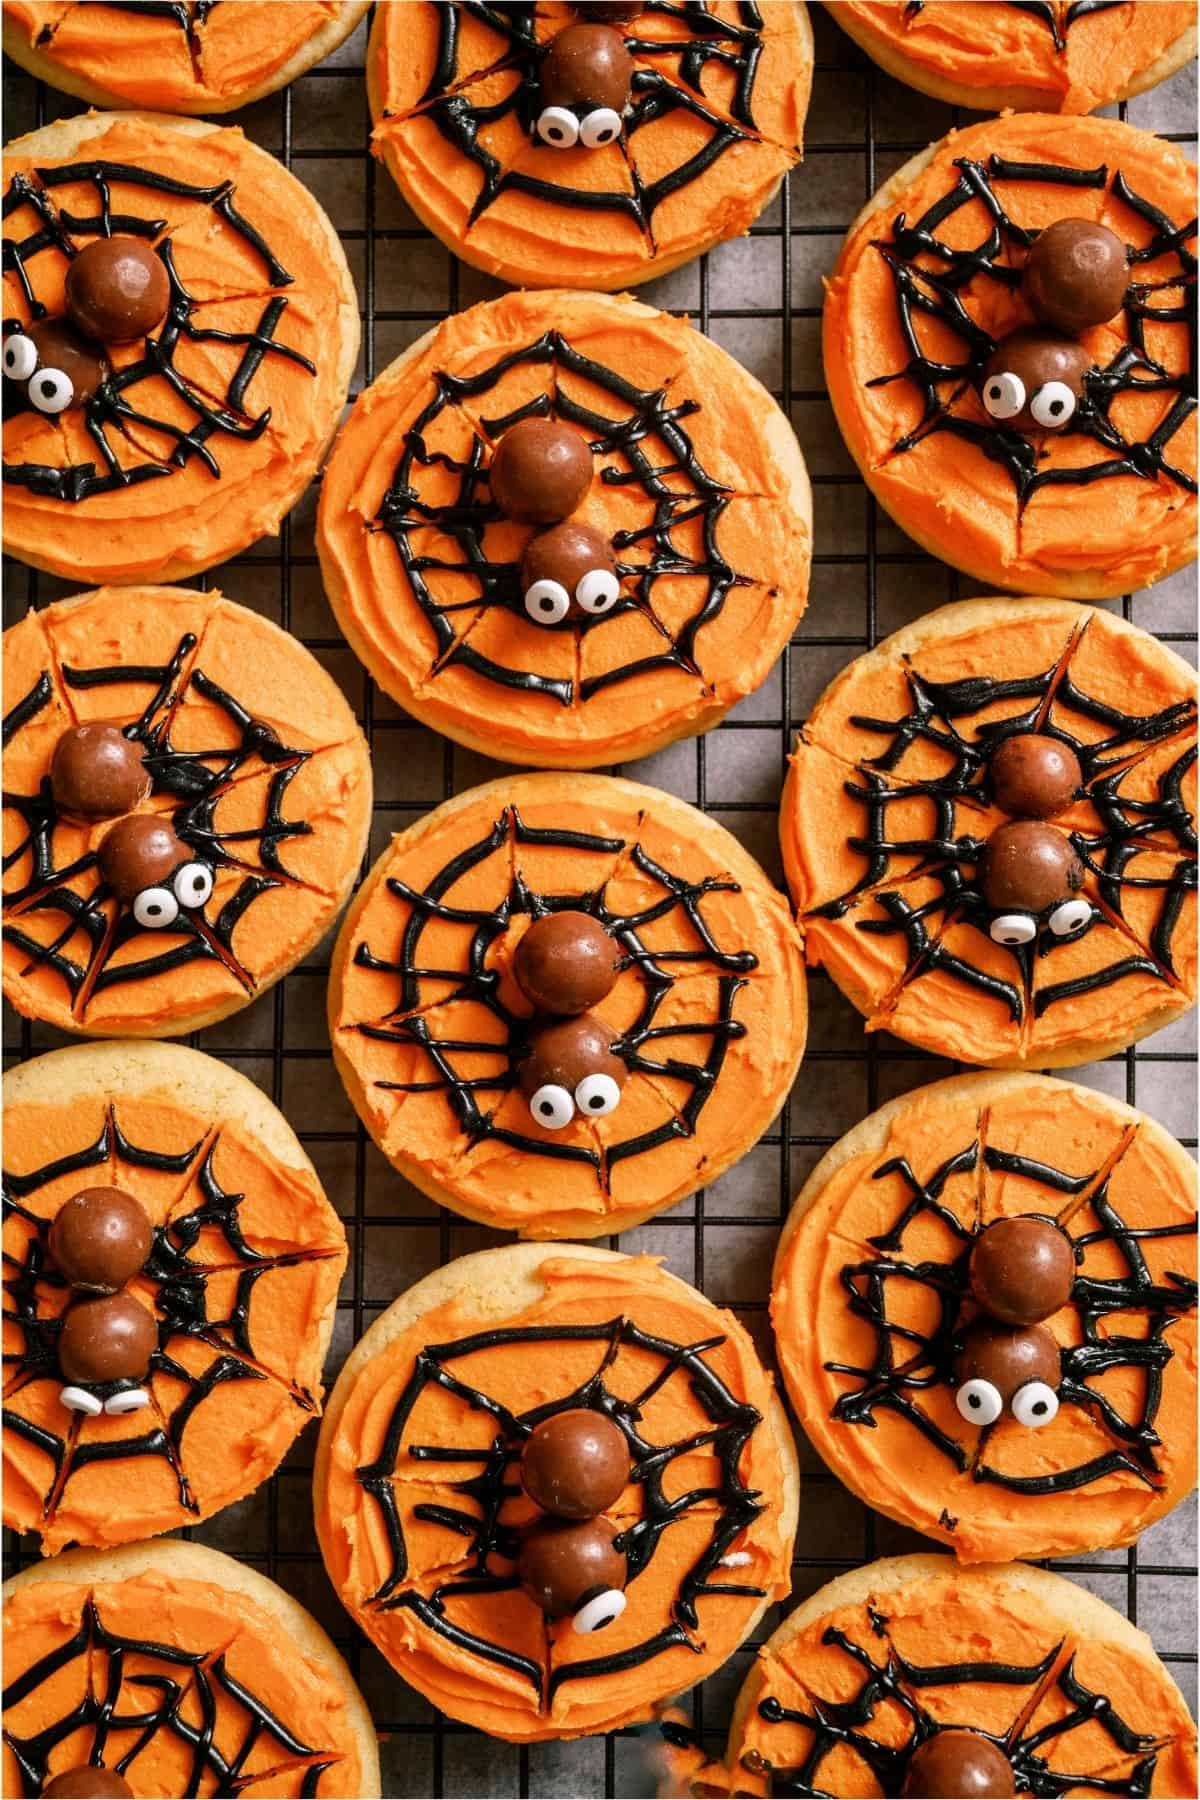
These spider web sugar cookies have a soft, buttery sugar cookie bottom topped with orange and black buttercream frosting spider web. Finished with a cute little malted milk ball “spider” in the center, they’re a kid-friendly Halloween dessert that are as fun to make as they are to eat! No royal icing or cookie decorating experience required.
Kids can help with almost every step, from rolling the dough to making the web. This makes them a great dessert for classroom parties or a fun day of holiday baking at home.
Looking for more Halloween inspired recipes? Check out our entire Halloween Collection.
What are Spider Web Sugar Cookies?
We’re so glad you asked! These spider web cookies have a round, chewy sugar cookie base. Instead of messing with royal icing or sticky marshmallow, we top them with orange and black buttercream (because Halloween!) and use it to make a “web”. Many versions also include spiders on top, whether candy pieces or spider rings, and our version uses malted milk balls to make an edible candy spider.
Why You’ll Love This Recipe
- Soft and chewy. If you can’t stand a crispy sugar cookie, you’re in the right place. These are soft and pillowy while still strong enough to withstand a little decorating.
- No royal icing or special cookie cutters needed. It’s the holiday season, which is not a great time to learn a new skill. Use what you have to make these cute cookies, no special techniques required.
- Great for kids. If you have little helpers in the kitchen, this is a great one for them. Let them help roll, frost, and decorate for a fun Halloween dessert (and craft!).
- Make-ahead friendly. Make the cookies ahead of time if you know you’ve got a busy holiday schedule (see Make-Ahead and Storage section below for exact instructions).
Recipe Ingredient Notes
These spider web sugar cookies are significantly easier to make than the traditional royal icing sugar cookies you usually see. You start with a sugar cookie base, add the two colors of buttercream to make a web, then add the malt ball spider and you’re DONE.
- Butter or Margarine: Either will work – use what you have. Butter will give it a richer flavor and hold its shape a little better and margarine will make a slightly softer dough. For the frosting, use butter for a traditional buttercream but margarine will work, too.
- Sugar: regular, granulated white sugar is what we use for the sugar cookie base.
- Eggs: 2 large eggs – room temperature will blend best.
- Baking powder and baking soda: powder for that soft, puffy texture and soda to help it spread to just the right shape and chewiness.
- Vanilla: use a pure vanilla for the best flavor, but in a pinch imitation will work. We also like to pour in a pinch of almond for a unique sugar cookie flavor.
- Salt: just a little bit to cut the sweetness.
- Sour cream: this helps keep the cookies so soft! While plain greek yogurt can be used in a pinch, it will affect the flavor and texture of the cookies.
- Flour: regular, all-purpose flour is all you need.
- Black and Orange food coloring: Gel food coloring (like Americolor or Wilton Gel) will help you get a true black or brighter orange with a lot less product than liquid food coloring drops. If your black frosting is more gray than black, the easiest way to get a darker color is to add gel than more liquid coloring.
- Shortening: this helps the frosting texture stay slightly more stable and hold the color better.
- Powdered sugar: one thing we swear by is using name brand (like C&H) for smoother frosting.
- Malted milk balls: you can buy these in most bulk candy sections, or grab a box of whoppers.
- Red starbursts (optional): if you want to make little beady red eyes, you can use tiny pieces of red starburst, or swap them out for a tiny bit of frosting or candy eyes.
Equipment Needed
For this recipe, you only need a few simple kitchen tools. We recommend using the following equipment:
How to Make Spider Web Sugar Cookies
- Make the base: Mix margarine, eggs, and sugar until well blended. Then add baking powder, vanilla, baking soda, salt, and sour cream and stir well. Add flour and gently combine. If it’s too sticky, add just a little more flour and refrigerate for about 30 minutes. Roll out dough on a floured surface and cut with a circle cookie cutter. Bake at 350 degrees for about 9 minutes.
- Make the frosting: Combine all ingredients and mix well. If it is too thin, add more powdered sugar and if it is too thick, add a little more milk. Set aside about 1/2- 3/4 cup of frosting and color it black for the web. Color the remaining frosting orange.
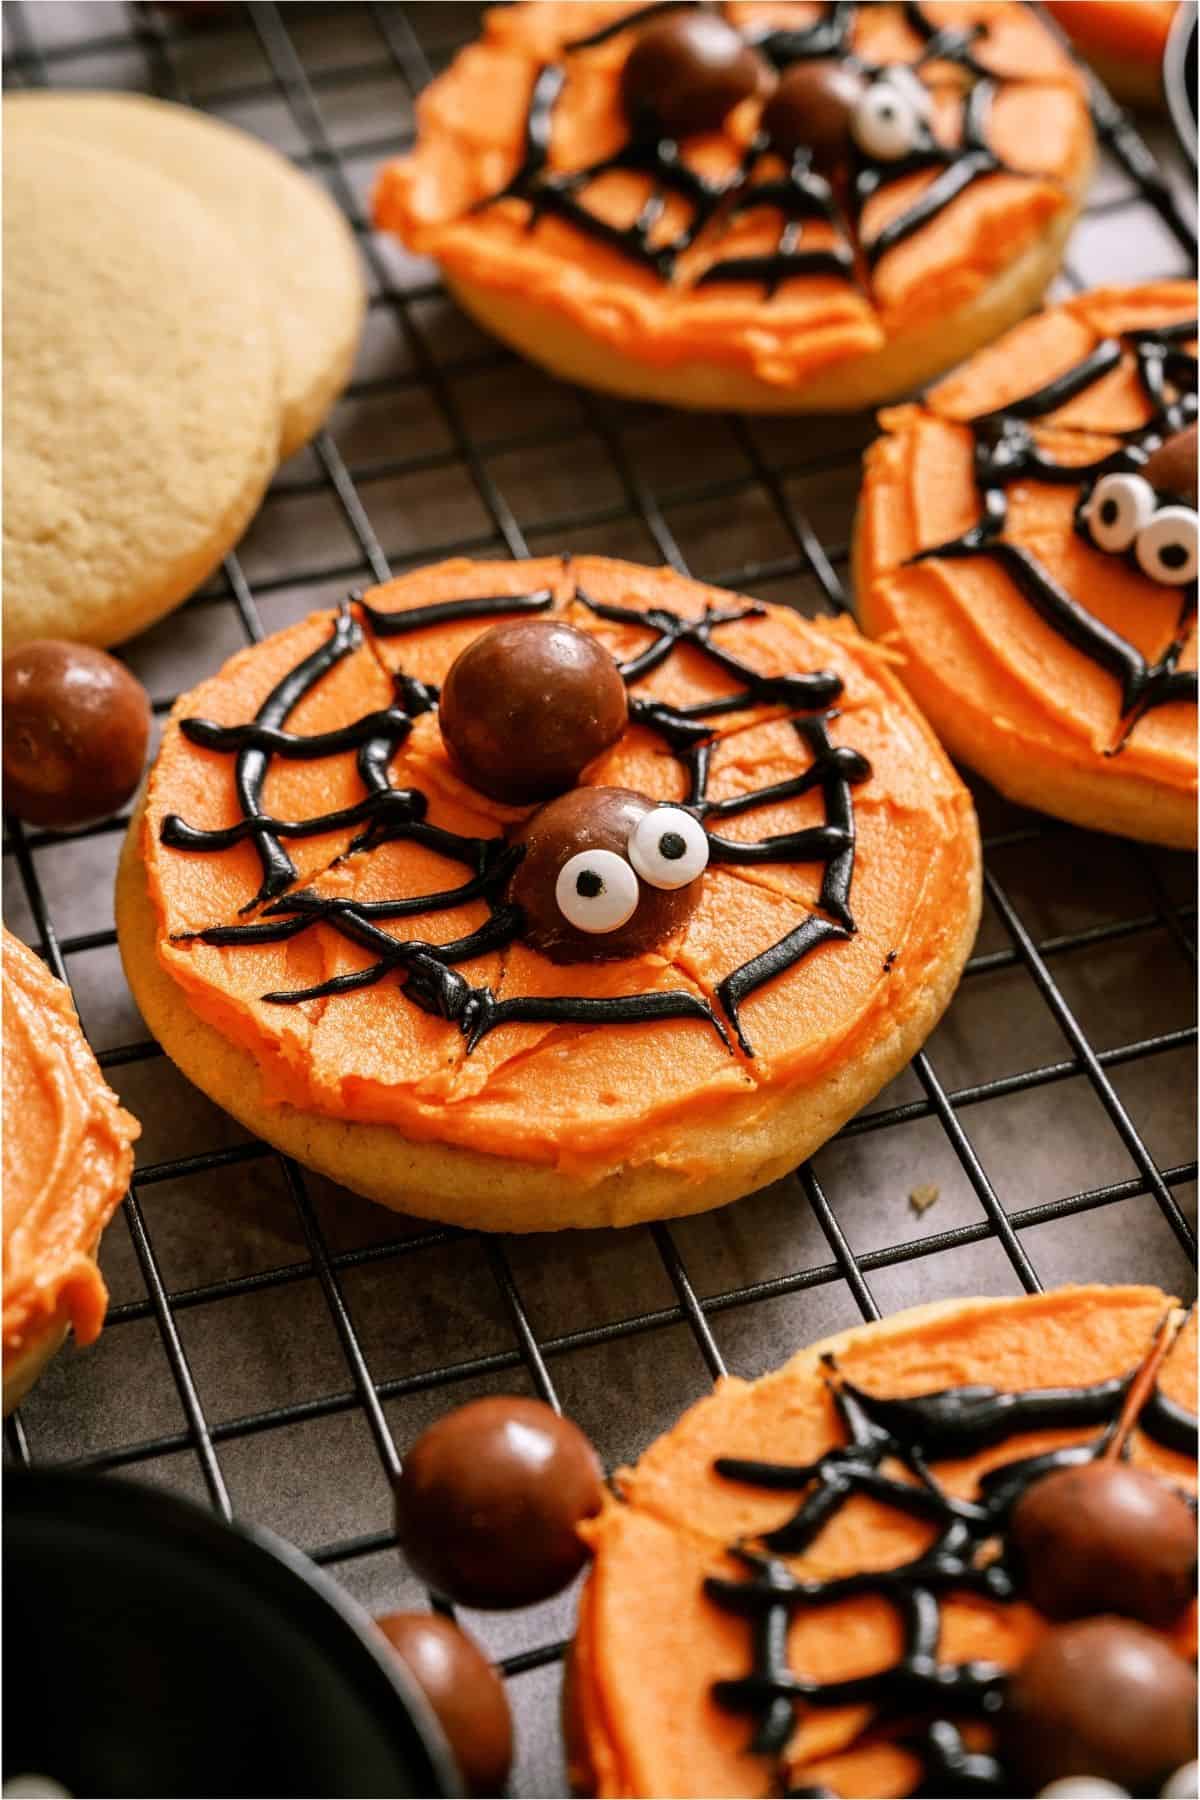
- Make the web: Frost each cookie with orange frosting, and then pipe the black frosting in 2-3 circles getting bigger as they get closer to the edge of the cookie. Drag a toothpick from the center of the cookie to the outside edge a few times to make it look like a “web”.
- Make the spider: Cut each malted milk ball in half (if you cut it a little off center, one half will be a little larger than the other to make them a ‘head’ and a ‘body’). Add eyes (if desired). Place the two halves of the milk ball on the center of the cookie, then pipe legs with extra black frosting.
Tips for a Clean Spider Web Cookie Design
- Use a softer-than-normal frosting. A frosting that starts to set up or is too thick will break when you try to drag a toothpick through it to make a web. You can thin out your frosting a little with drops of milk to make it easier to pipe and make into a spider web shape.
- Pull toothpick lines in one direction for the most even web (like from the middle to the edge every time) to give it a more uniform shape.
- Clean your toothpick between swipes. If your toothpick is collecting a lot of frosting when you’re trying to make the web, clean it between each one to avoid making a smeary mess.
Recipe Variations
- Skip the coloring: swap the black frosting for melted chocolate or chocolate ganache piped over the icing. Then leave the frosting white so you get a two-tone look instead of the orange and black.
- Skip the spider: no time to add spiders? No problem! Leave them off for a cute spiderweb dessert that feels a little more grown up.
Make-Ahead and Storage Tips
- Dough: refrigerate the dough (wrapped in plastic wrap) up to 2 days ahead or freeze for up to 3 months. Thaw in the fridge overnight before rolling.
- Baked, undecorated cookies: freeze baked cookies in an airtight container or freezer safe bag with parchment paper between layers for up to 2 months. Thaw completely before frosting.
- Decorated cookies: store in a single layer in an airtight container at room temperature for up to 3 days.
- Frosting: leftover frosting can be refrigerated in an airtight container for about a week. Bring to room temp and mix before using (you may need to add a splash of milk if it’s too thick!).
Frequently Asked Questions
If you’re comparing buttercream to royal icing, it depends on what level of commitment you have. Buttercream is great for beginners and can be done quickly. It doesn’t require special ingredients or tools. Royal icing dries to a harder, glossier finish and is better for stacking, shipping, or gifting. It definitely has a more professional look, but it also takes a lot more time commitment and specialty skills.
Pipe a spiral (or circles) of black frosting on top of the orange frosting base, starting at the center and working out. While the frosting is still wet, drag a toothpick in a straight line from the center to the edge in evenly spaced lines around the cookie. The dragging motion pulls the black frosting into “web shaped” points.
Absolutely! You can use Junior Mints, Hershey’s Drops, Tony’s Chocolonely’s Lil Bits or any other chocolate, circle-shaped candies.
Yes! The baked, undecorated cookies can be frozen for two months, and the uncooked dough can be frozen for up to 3 months (see Make-Ahead & Storage instructions above for more details).
Decorated cookies keep well in an airtight container at room temperature for up to 3 days, so they can be fully made up to 3 days before you need them.
Explore More Delicious Halloween Desserts
From creepy and crawly to cute and cuddly, celebrate Halloween with these family friendly recipes perfect for any party. Browse our comprehensive list of Halloween recipes.
- 4-Ingredient Oreo “Mummy” Bark
- Butterfinger Rice Krispie Treats
- Double Chocolate Cake Cookies
- Halloween Spooky Smile Cookies
- Peanut Butter Spider Cookies
- Pumpkin Oatmeal Chocolate Chip Cookies
- Pumpkin Spice Rice Krispies
- Spooky Witch Finger Cookies

Spider Web Sugar Cookies Recipe
Ingredients
Cookies:
- 1 cup butter, or margarine, softened
- 1 ¼ cups sugar
- 2 eggs
- 1 teaspoon baking powder
- 1 teaspoon vanilla
- 1 teaspoon baking soda
- ½ teaspoon salt
- ½ cup sour cream
- 4 cups flour
Frosting:
- ½ cup butter, or margarine, softened
- 3 Tablespoon shortening
- 1 teaspoon vanilla
- 3 cups powdered sugar
- 1 Tablespoon milk
- black food coloring
- orange food coloring
- 36 malted milk balls
- 3 starbursts, red
Instructions
Cookies:
- Mix margarine, eggs, and sugar until well blended.
- Add baking powder, vanilla, baking soda, salt, and sour cream and stir well.
- Add flour and gently combine. If it's too sticky, add just a little more flour and refrigerate for about 30 minutes.
- Roll out dough on a floured surface and cut with a circle cookie cutter (I used a 3 ¼ in diameter circle cookie cutter).
- Bake at 350℉ for about 9 minutes (you do not want to overcook them).
Frosting:
- Combine all ingredients and mix well. If it is too thin, add more powdered sugar and if it is too thick, add a little more milk.
- Set aside about ½ – ¾ cup of frosting and color it black for the web.
- Color the remaining frosting orange.
- Frost each cookie and then pipe the black frosting as shown in the picture below.
- Then drag a toothpick from the center to the outside edge.
- Decorate each cookie with a web.
Spider:
- Cut each malted milk ball in half. I tried to cut it a little off center so that one half was a little larger than the other half. The smaller half will be the spider head and the larger half of the malted milk ball will be the spider body.
- Soften the starburst in the microwave for about 5 seconds. Break off tiny pieces and roll into the eyes.
- Stick onto the head with a little bit of icing.
- Place the two halves of the milk ball into the center of the cookie.
- Then pipe on the legs with black frosting. You can add a tiny dot of black frosting to the red eyes if desired.
Notes
Nutrition
 Did You Make This Recipe?We’d love to hear your thoughts! Leave a review or a question in the comment section below the post.















Kids loved this recipe and it was so easy to make!