
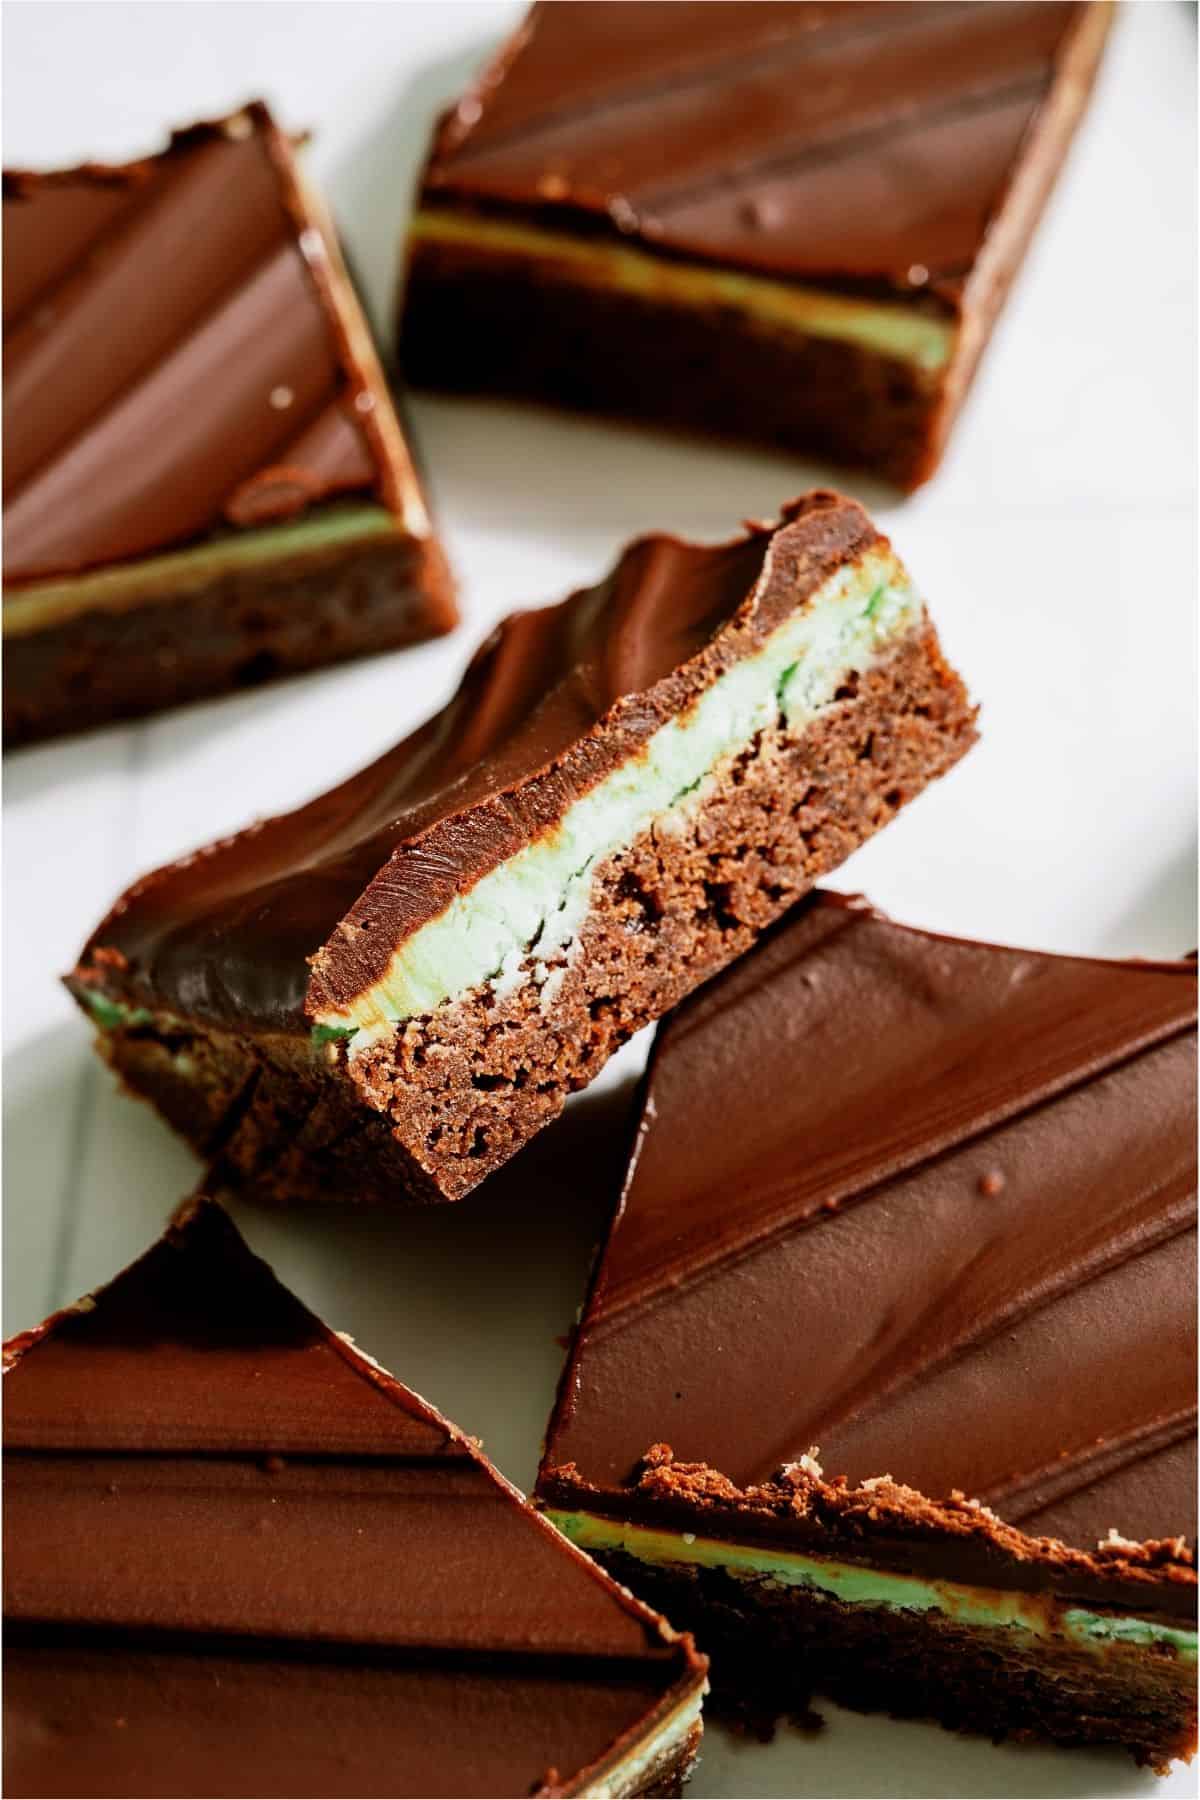
We’ve used this recipe for the last two decades, and it is a staple for any big get-together we have because it feeds so many. If you’ve never made layered brownies before, this time-trusted recipe is the one you need to use.
“I have been making these for years….they are simply devine !!” – Rosemary
Ingredient Notes for Mint Brownies
To make Chocolate Thin Mint Brownies, you will need the following ingredients:
- Brownies: This recipe makes a thick, fudgy brownie base. We prefer to use unsalted butter, Hershey’s cocoa, white sugar, beaten eggs, pure vanilla extract, salt, and all-purpose flour. Beating the eggs before you add them will prevent you from overmixing.
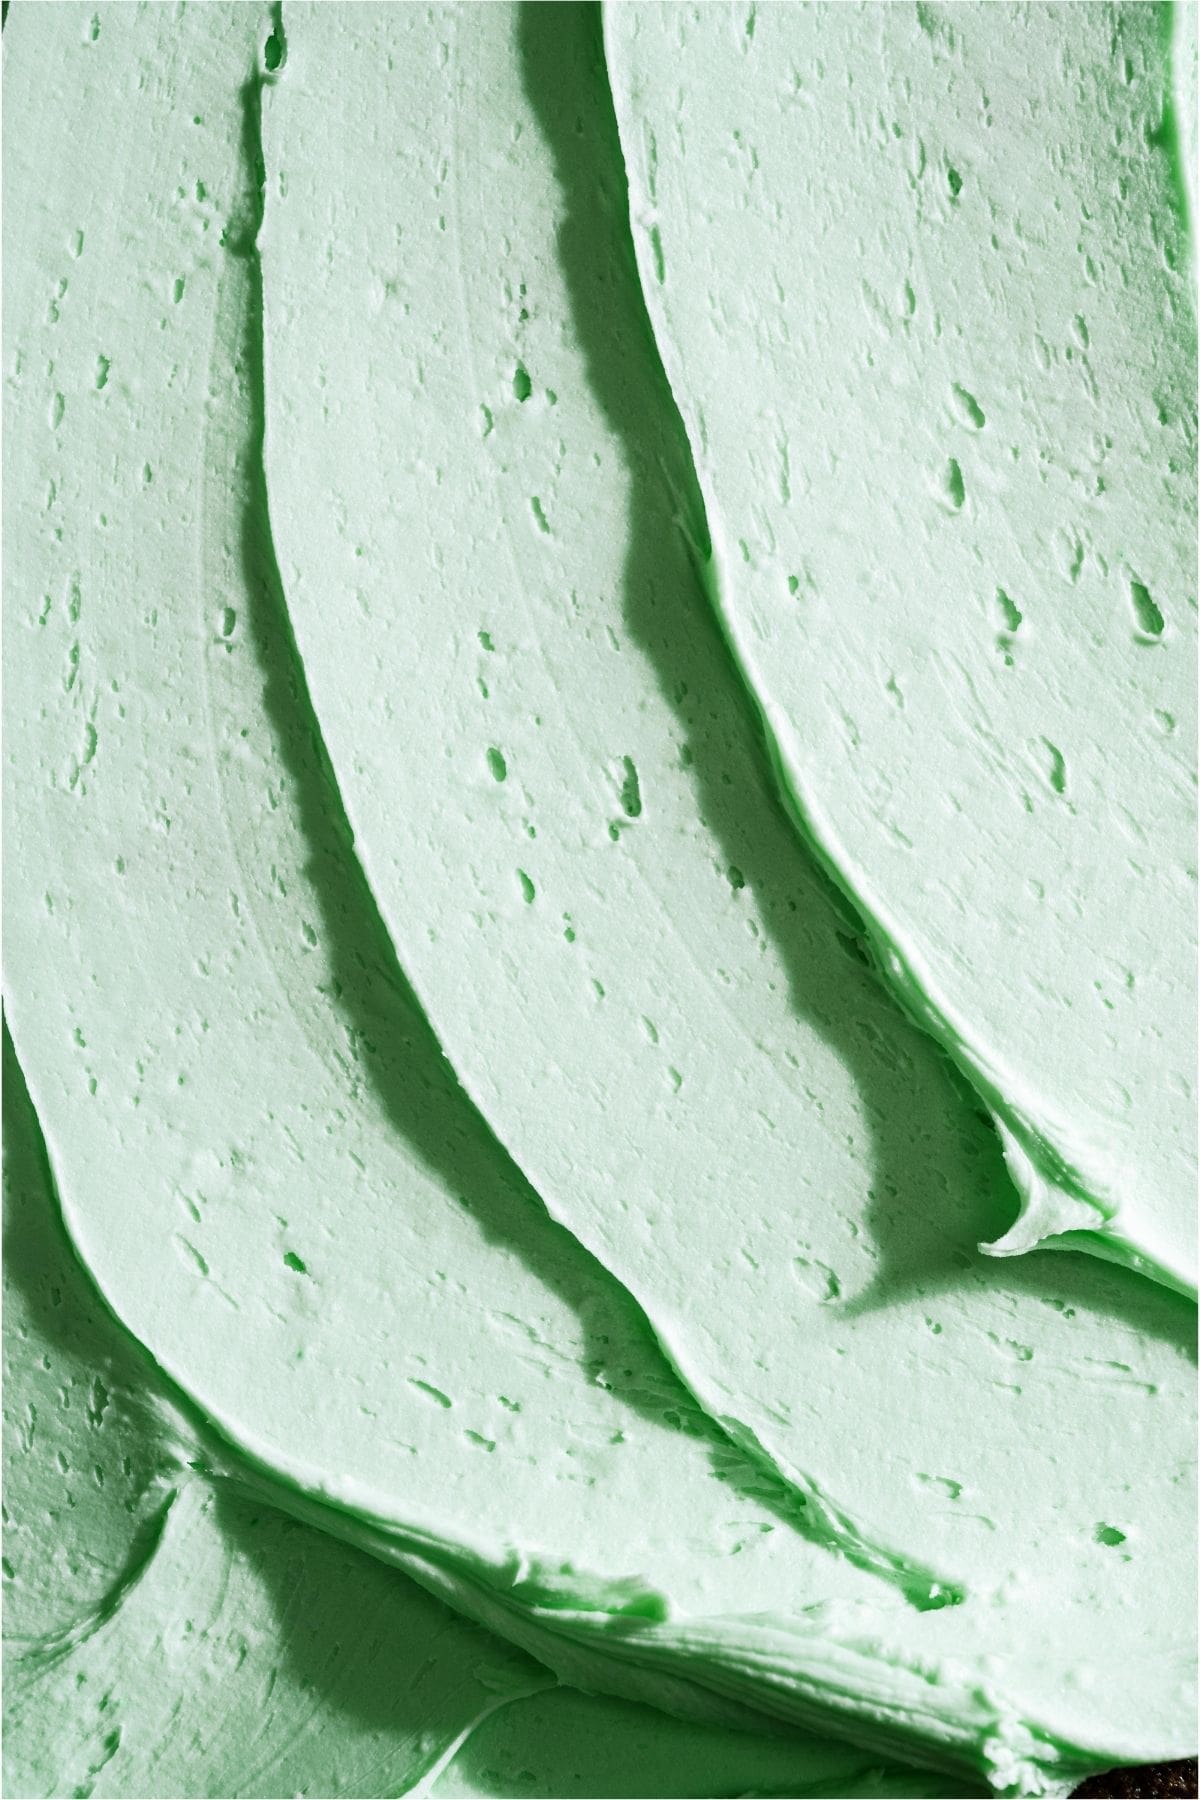
- Mint Frosting: Softened butter, milk, powdered sugar, peppermint extract and green food coloring. You can substitute mint extract for peppermint if you prefer, and change the green food coloring to any color you like. We’ve done red for Valentine’s, and left out coloring entirely for a bridal shower treat).
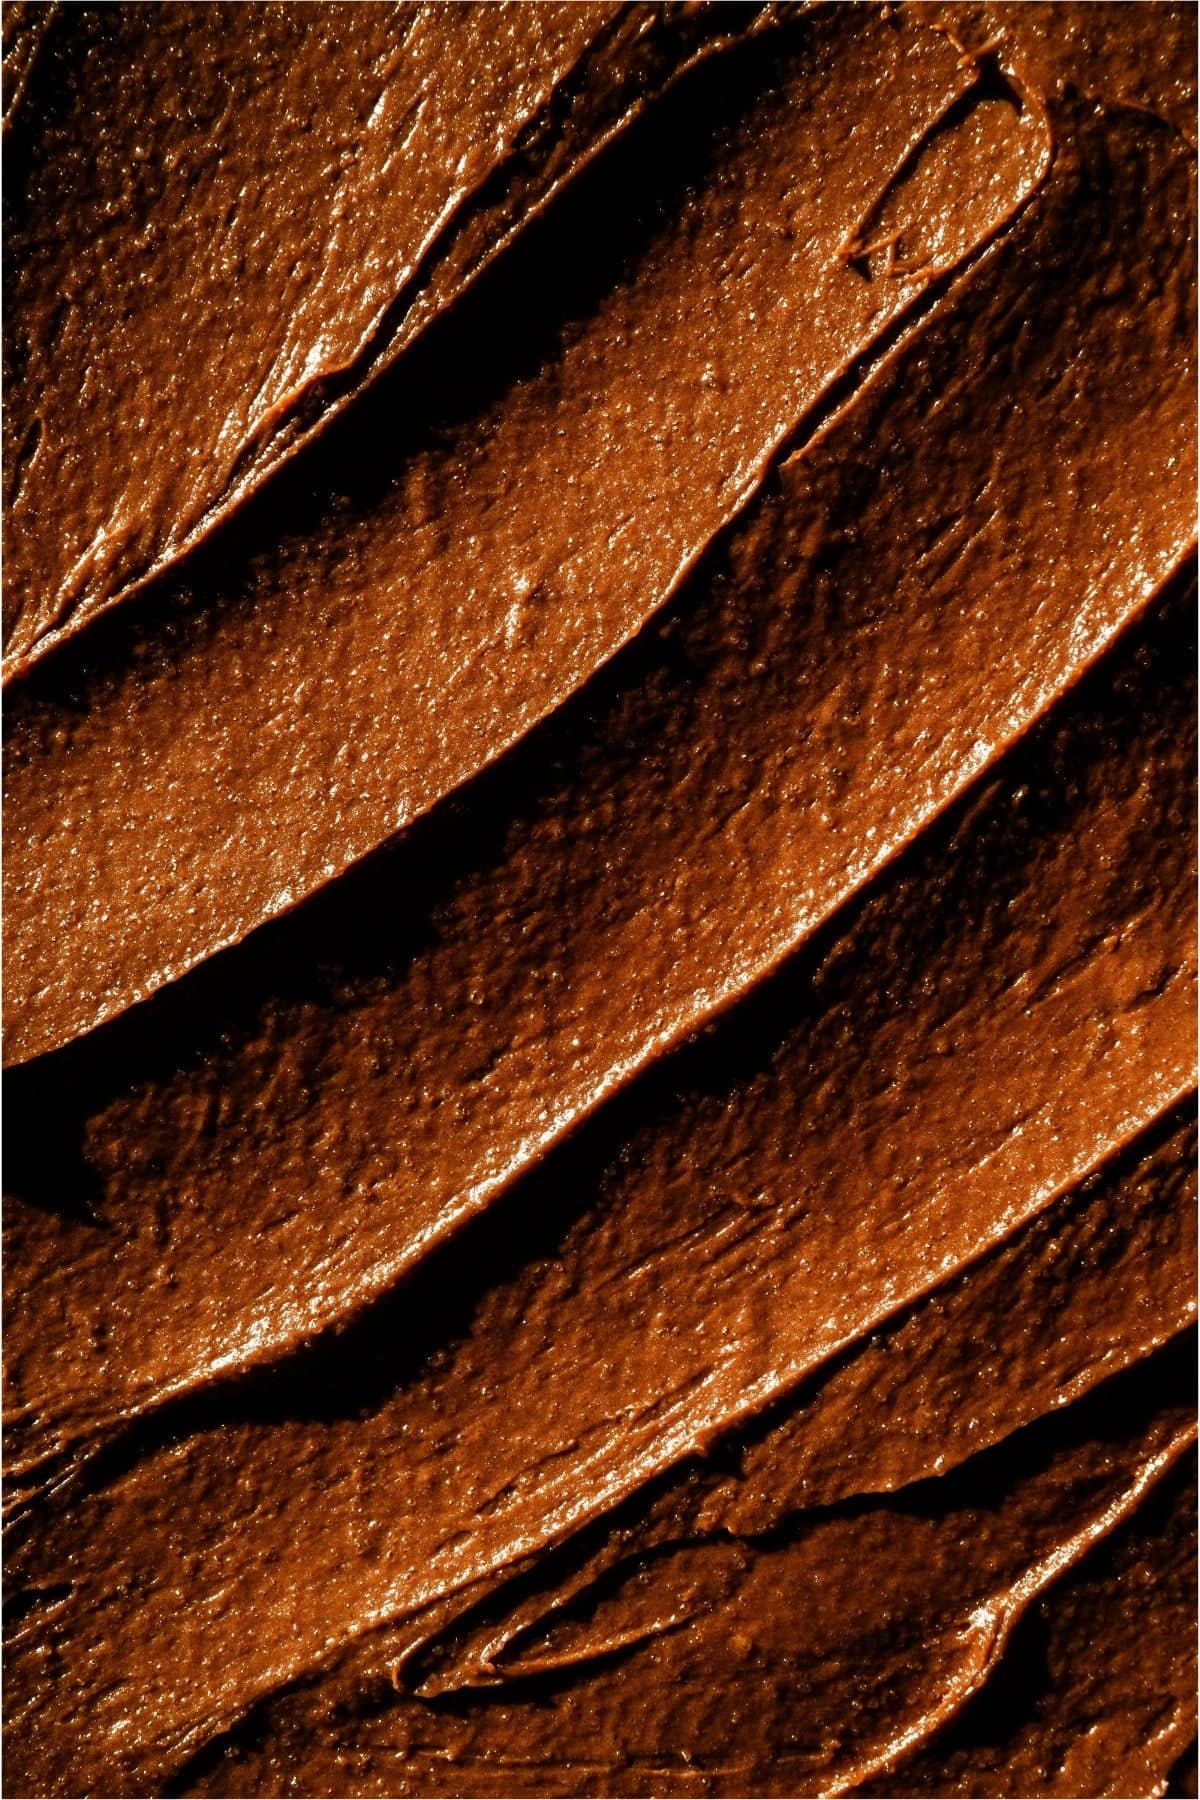
- Chocolate Ganache: Using semi-sweet chocolate chips and butter melted together, it makes a really smooth ganache that spreads easily across the top.
Equipment needed to make layered mint brownies:
For this recipe, you only need a few simple kitchen tools. We recommend using the following equipment:
How to make Chocolate Thin Mint Brownies
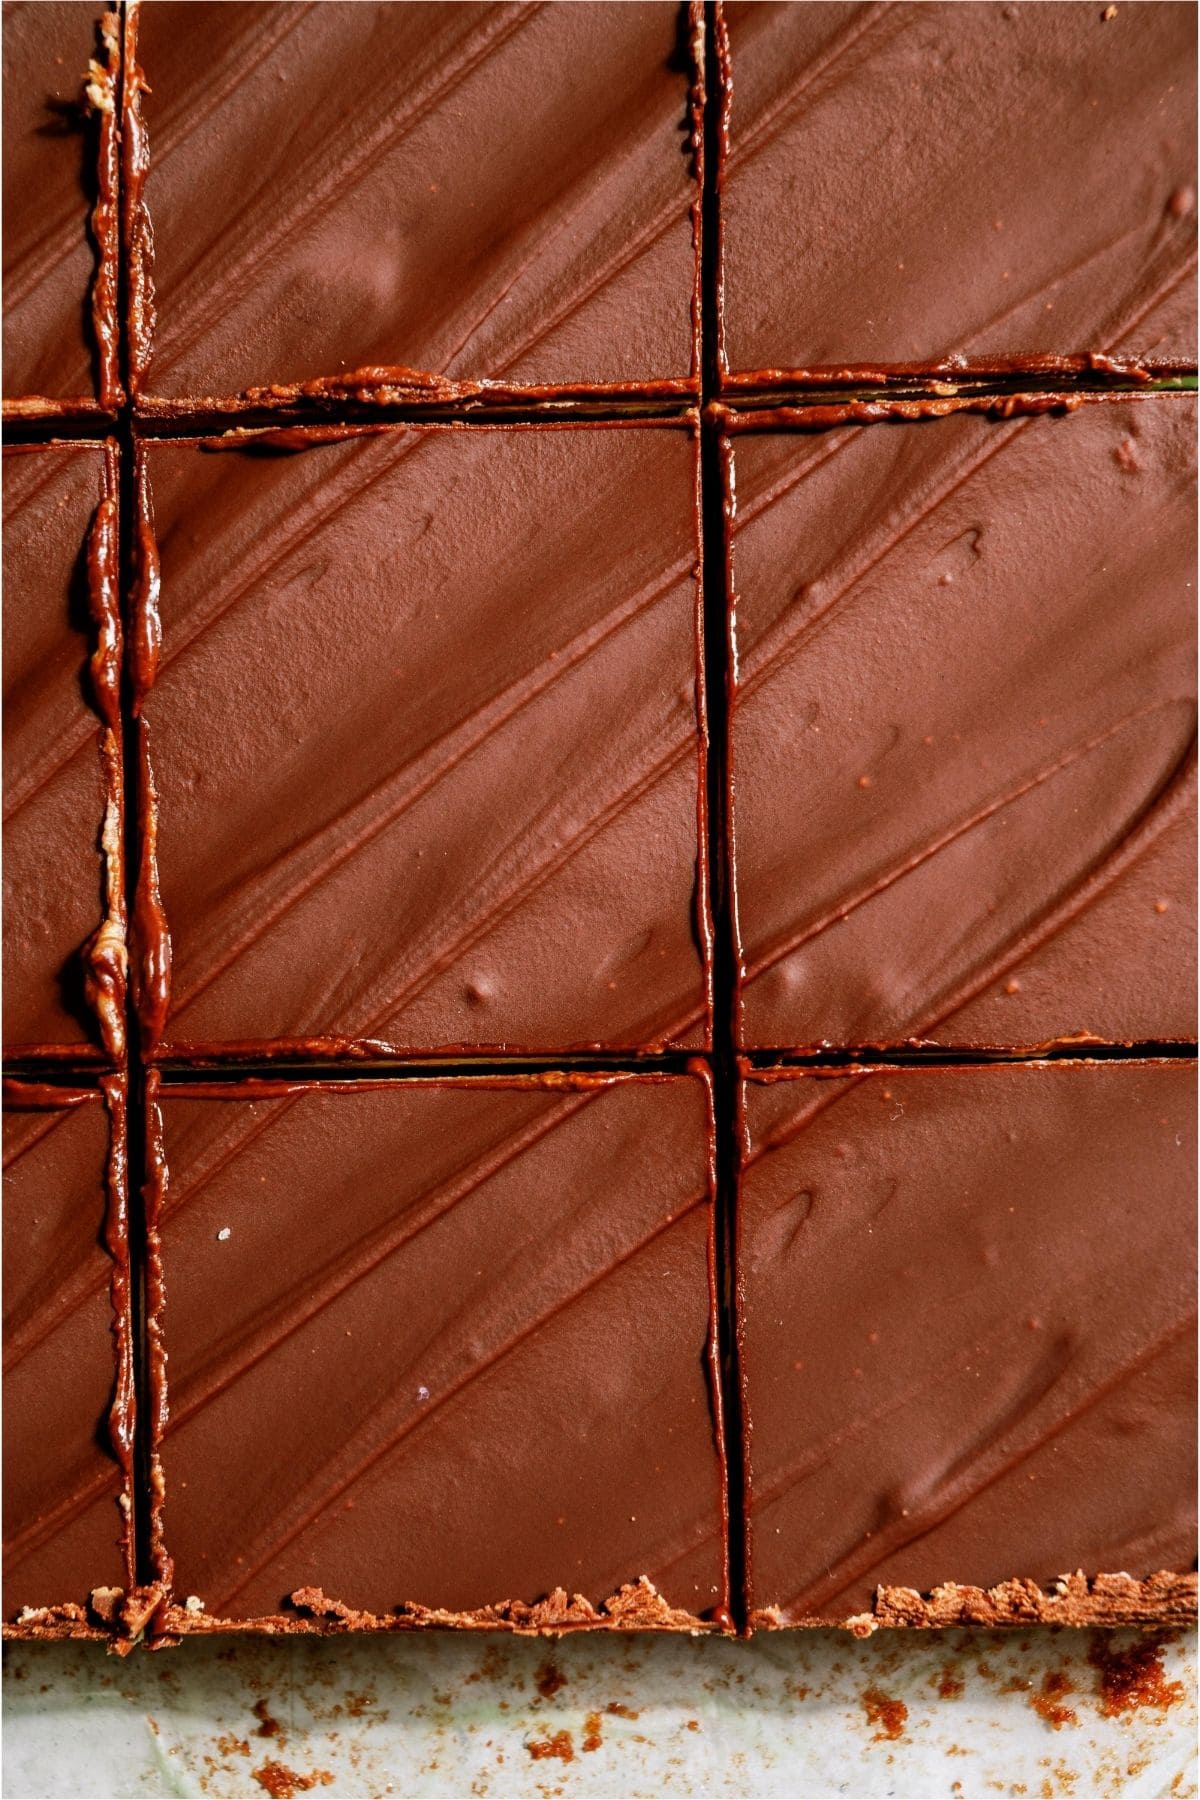
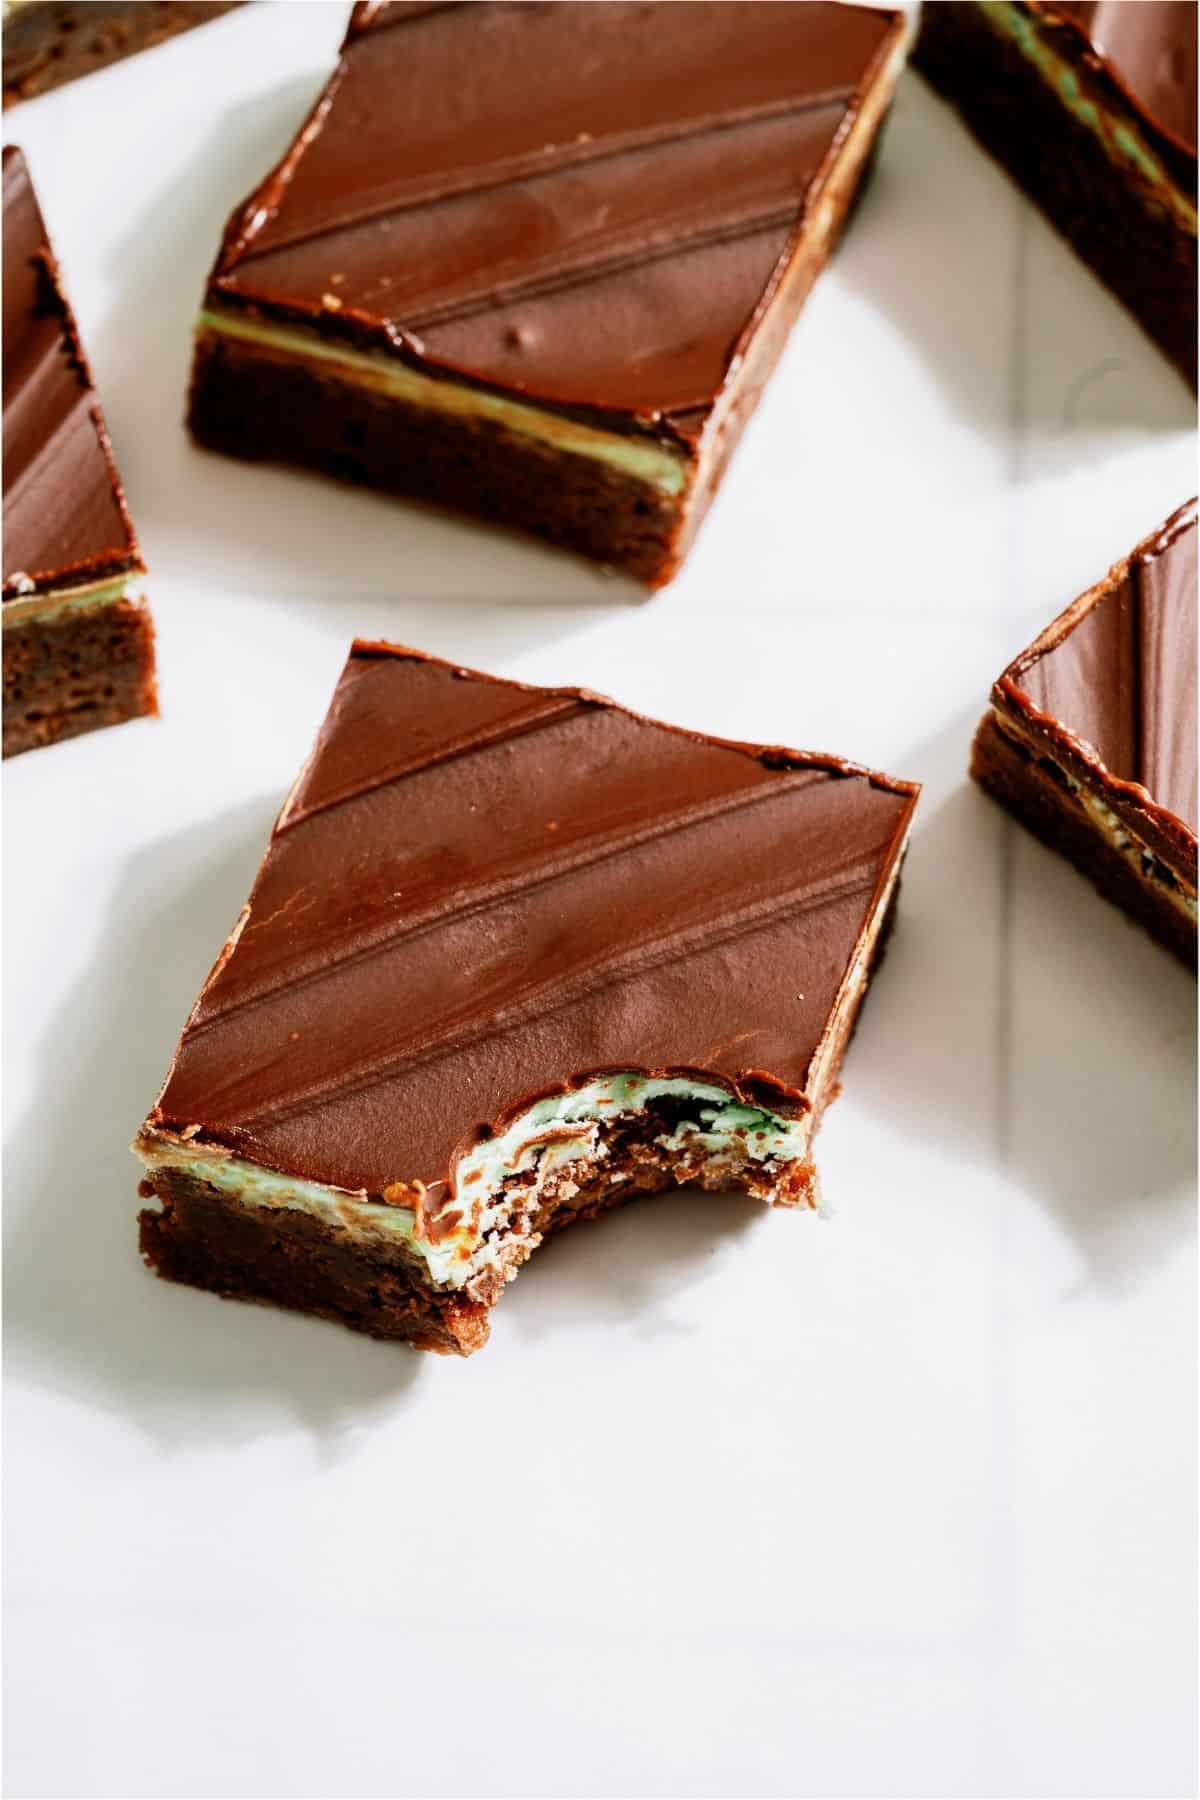
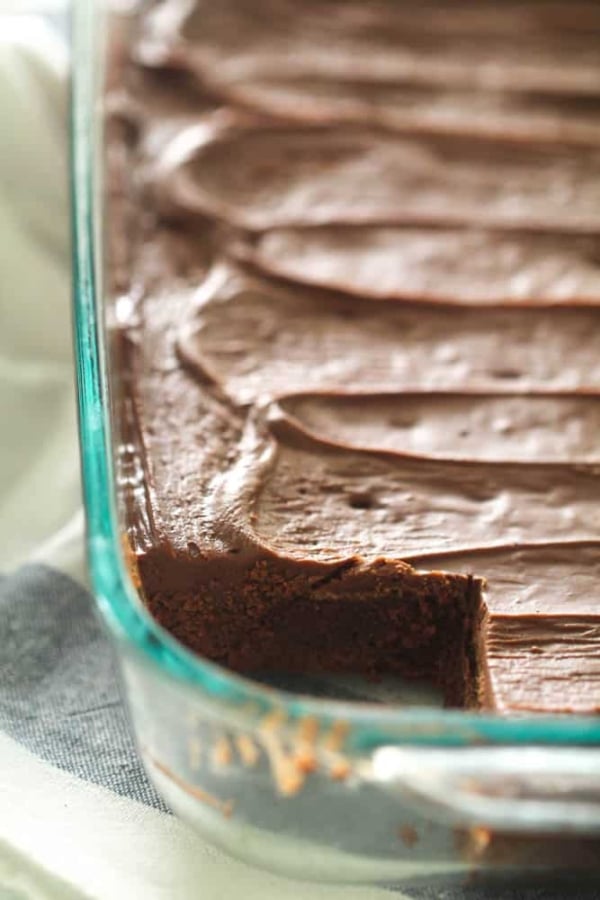
These brownies are made in three stages: brownie bottom, mint frosting, and ganache topping. To help set the layers, we freeze them for about 20 minutes after each stage.
- Brownies: Preheat oven to 350℉. Whisk together melted butter and cocoa. Add sugar, eggs vanilla and salt. Stir in flour by hand so you don’t overmix. Spread in a greased half sheet pan (12×17”). Bake for 25-30 minutes. Freeze.
- Frosting: Mix together butter, milk, powdered sugar, and vanilla extract. If you want to add color, this is the step to do it. Frost the brownies and then return to the freezer.
- Ganache: Melt the chocolate chips and butter in the microwave. We usually do it in 30-second intervals, stirring between each interval. Spread on top of the frosting layer, then return to the freezer.
Homemade Mint Brownie FAQs
Cool your brownies completely before cutting (these come straight from the freezer, which helps). Use a sharp knife or a plastic knife. Run your knife under warm-hot water before cutting. Wipe your knife on a paper towel or cutting board edge, after each cut if frosting has accumulated.
After a few hours at room temperature, we recommend storing them in the refrigerator in an airtight container for 3-4 days. If you are making them more than 4 days in advance, we highly recommend placing them in an airtight container. Do not stack them. Remove them from the freezer and let them thaw in the refrigerator for 24 hours before serving.
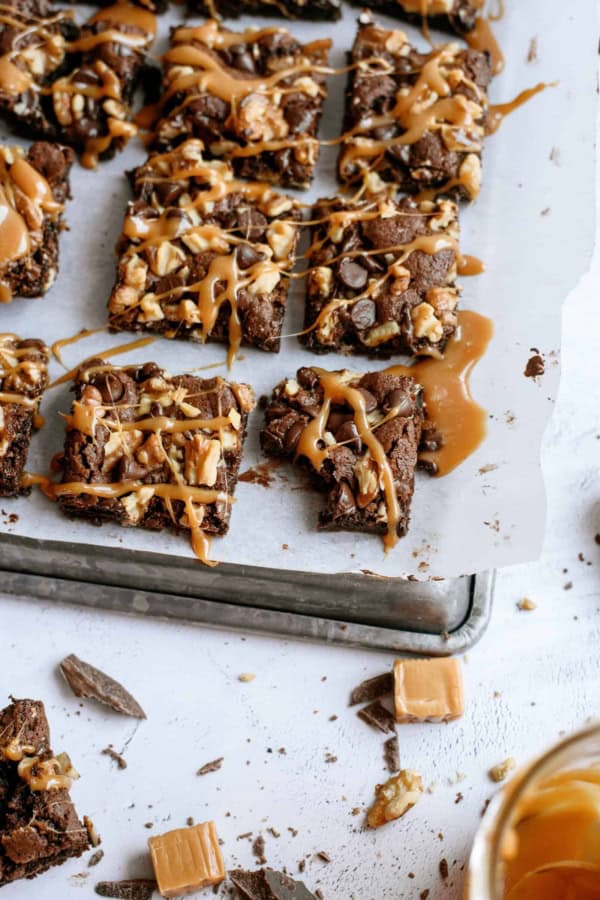
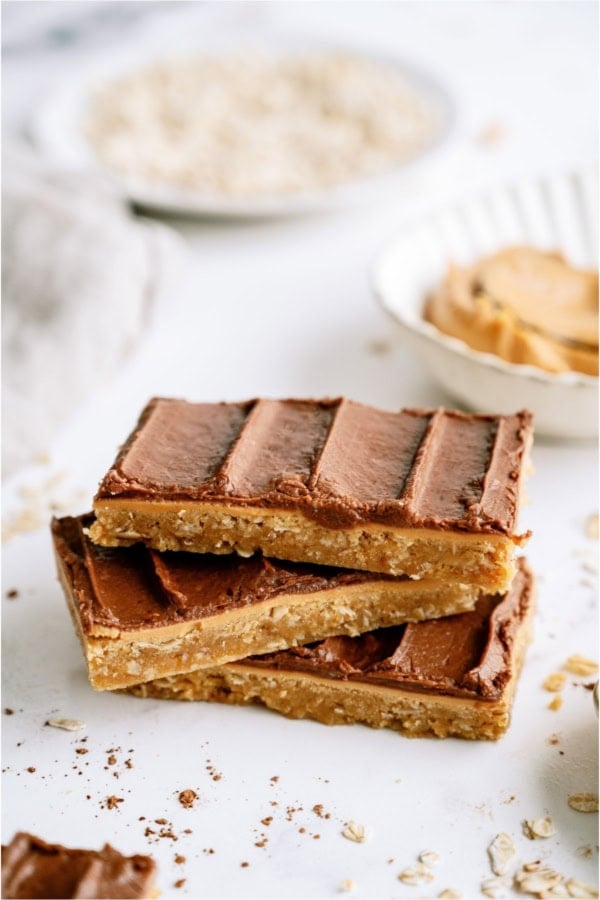
Enjoy More Delicious Brownie Recipes
There’s nothing better than an easy brownie or bar recipe. Check out our complete list of brownies, bars, and blondies here.
Chocolate Thin Mint Brownies Recipe
Ingredients
Brownies
- 1 ½ cups butter
- ¾ cup cocoa
- 3 cups sugar
- 6 eggs, beaten
- 1 ½ teaspoon vanilla
- ¾ teaspoon salt
- 2 ¼ cup flour
Mint Frosting
- ¾ cup butter, softened
- 3 Tablespoons milk
- 3 cups powdered sugar
- 1 ½ teaspoon peppermint extract
- 4 drops green food coloring , optional
Chocolate
- 2 ¼ cup semi-sweet chocolate chips
- ¾ cup butter
Instructions
- Pre-heat oven to 350℉.
Brownies
- In a large bowl, whisk together melted butter and cocoa. Add sugar, eggs, vanilla and salt. Mix well, then stir in flour by hand. Do not over mix.
- Spread batter in greased 12 x 17 inch cookie sheet and bake for 25-30 min.
- Cool and then put in the freezer for 20 minutes.
Frosting
- Mix butter, milk, powdered sugar and extract. If you want to add color, add in food coloring (you could also use red food coloring).
- Remove from freezer and frost brownies, then put in freezer for another 20 minutes.
Chocolate
- Melt chocolate chips and butter in the microwave and spread on top of the frosting layer. Freeze another 20 minutes to set.


These are AMAZING!! I have got to make these!!
These remind me of something my mom made called creme de menthe brownies. As far as I can tell this is inentical except it used the liqour instead of the peppermint extract. I am craving them now! Maybe I’ll do some baking… 🙂
Hi, ladies! I’m admiring all your creative posts here so can you please share them with us at the Creative Bloggers’ Party & Hop?
I have the recipe for the BYU Mint Brownies. They are AMAZING too!
I have the recipe for the BYU Mint Brownies. They are AMAZING too!
I am ALL over these!
I LOVE YOUR GIRLS’S BLOG!!! I am one of 4 girls and it is the best!!! I feel “at home” when I am on your page! 😀
Yikes!! Looottttsss of butter in this recipe!
These sound like an amazing holiday treat. Can you tell me about how many this recipe yields?
My next door neighbor gave me this recipe as a new bride almost 35 years ago. They are my daughter’s favorite.
These look delicious. Also, it’s funny that people are whining about fat and sugar on a recipe for sweets… Just saying.
I have been making these for years….they are simply devine !!
You go girls !!!!!!!!!
Okay this looks seriously delicious. Now I’ve got chocolate on the brain! You can bet I’ll be trying this out next week. Thanks for the awesome recipe!
Is this 1 1/2 cups of butter then you melt it or is it butter melted then you measure out 1 1/2 cups? If the latter how much butter do you need for 1 1/2 cups of melted butter? Thanks
It’s 1 1/2 cups of butter, then melt it!
The paper wrapping each stick of butter has the amounts in Tbsp, Oz and Cups. Each stick is 1/2 Cup.
Would like to know if these need to be kept refridgerated and can they be frozen to serve later?
can these be frozen to serve later?
They should freeze fine in an airtight container.
How long can these brownies be made ahead of time? I have a cookie exchange on Christmas Eve but I would like to make them about a week ahead of time.
1. Can this be done without them tasting bad/old?
2. If yes, would you suggest I put them in an airtight container in the fridge, freezer or at room temperature?
3. And if yes, should I make the entire bar including the mint and chocolate frosting on top before I put them in the container or should I just make the brownies, freeze those and then on the day before make the mint and frosting topping?
Thanks!
You can make these brownies ahead of time and put them in an airtight freezer container.
This is my favorite brownie recipe by far! What is the trick for keep the layers from coming apart? I’ve heard of using a toothpick to connect the layers before freezing.
Hi Angy. I was googling the question you had about frosting separating from the brownies. The answer goes against the recipe directions. Ha Ha. It says to frost the brownies when they are slightly warm. I’m thinking to let the brownies cool and then frost with the mint layer. Then let that set up or even cool slightly then add the chocolate layer. I don’t know if this will make much difference, but I tried. We haven’t really had a problem with them separating. Keep us updated! Thanks so much for stopping by sixsistersstuff and have a great week!
Any idea how much I would cut the recipe down for a 9×13 pan? I can’t have that amount of brownie around my house 🙂
Hi Kristin. I would just cut the recipe in half. Watch it closely on the cooking time to be sure they are done.
I made this recipe last winter for my family and everyone loved it! I love thin mints and I’m so happy to have found this recipe. 😀 Definitely recommend this recipe.
What!?!? – I mean – wait, What!?!?
Sorry! but it seems so overwhelmingly DELICIOUS!!!!!!!!!!
Just made them…very delicious! Should they be stored in the refrigerator or can they be left out? Thanks!
Either way is fine. We store them in an airtight container.
Are these the same recipe from your blog several years ago? I hope so!
This is the recipe that has always been out there for these specific brownies. We also have some Andes Mint Brownies – https://www.sixsistersstuff.com/recipe/andes-mint-brownies/
Do they have to be stored in a fridge
These Chocolate Thin Mint Brownies can sit at room temperature for a few hours, but after that, we would recommend storing them in the refrigerator in an airtight container for 3-4 days.
If you are making them more than 4 days in advance, we highly recommend placing them in an airtight container (try to not stack them. You may need a few containers), and removing them from the freezer 24 hours before serving.
I’ve been making this recipe for my family for 5 or 6 years, and they are so addicting they are now called “crack brownies.” They are indeed AMAZING!
Do you use salted or unsalted butter in these?
Always unsalted unless otherwise stated! 🙂
My mom and I love this recipe. She has had this requested multiple times from church members. We always make a little extra mint frosting.
I made this recipe years ago. But this time with this particular recipe, the mint icing never set up. It was runny. Recipe should have said to add milk in 1 tablespoon intervals as needed. I think 1 or 2 tablespoons would have been enough. 3 was way too much.
In the equipment, you list Sheet Pan (Quarter), but in the recipe description you list a 12×17 cookie sheet (which is about the size of a Half Sheet Pan). Which is the correct size pan for this recipe? Thanks!
Any time we call for a sheet pan, it will be a half size. I don’t believe we use quarter sheet pans in any of our cooking, instead we opt for 9×13″ pans (which is the same size as a quarter sheet pan).
This is a staple recipe for all year! But I use crème de’ menthe instead of peppermint and green dye- so good.
Could you use a box mix and spread out in a smaller pan to make a smaller amount since I do not need a large amount, but still would like to make them for our game night. thanks for sharing your recipe a;lways look forward to your recipes.
Sure! Give it a try and let us know how it turns out