
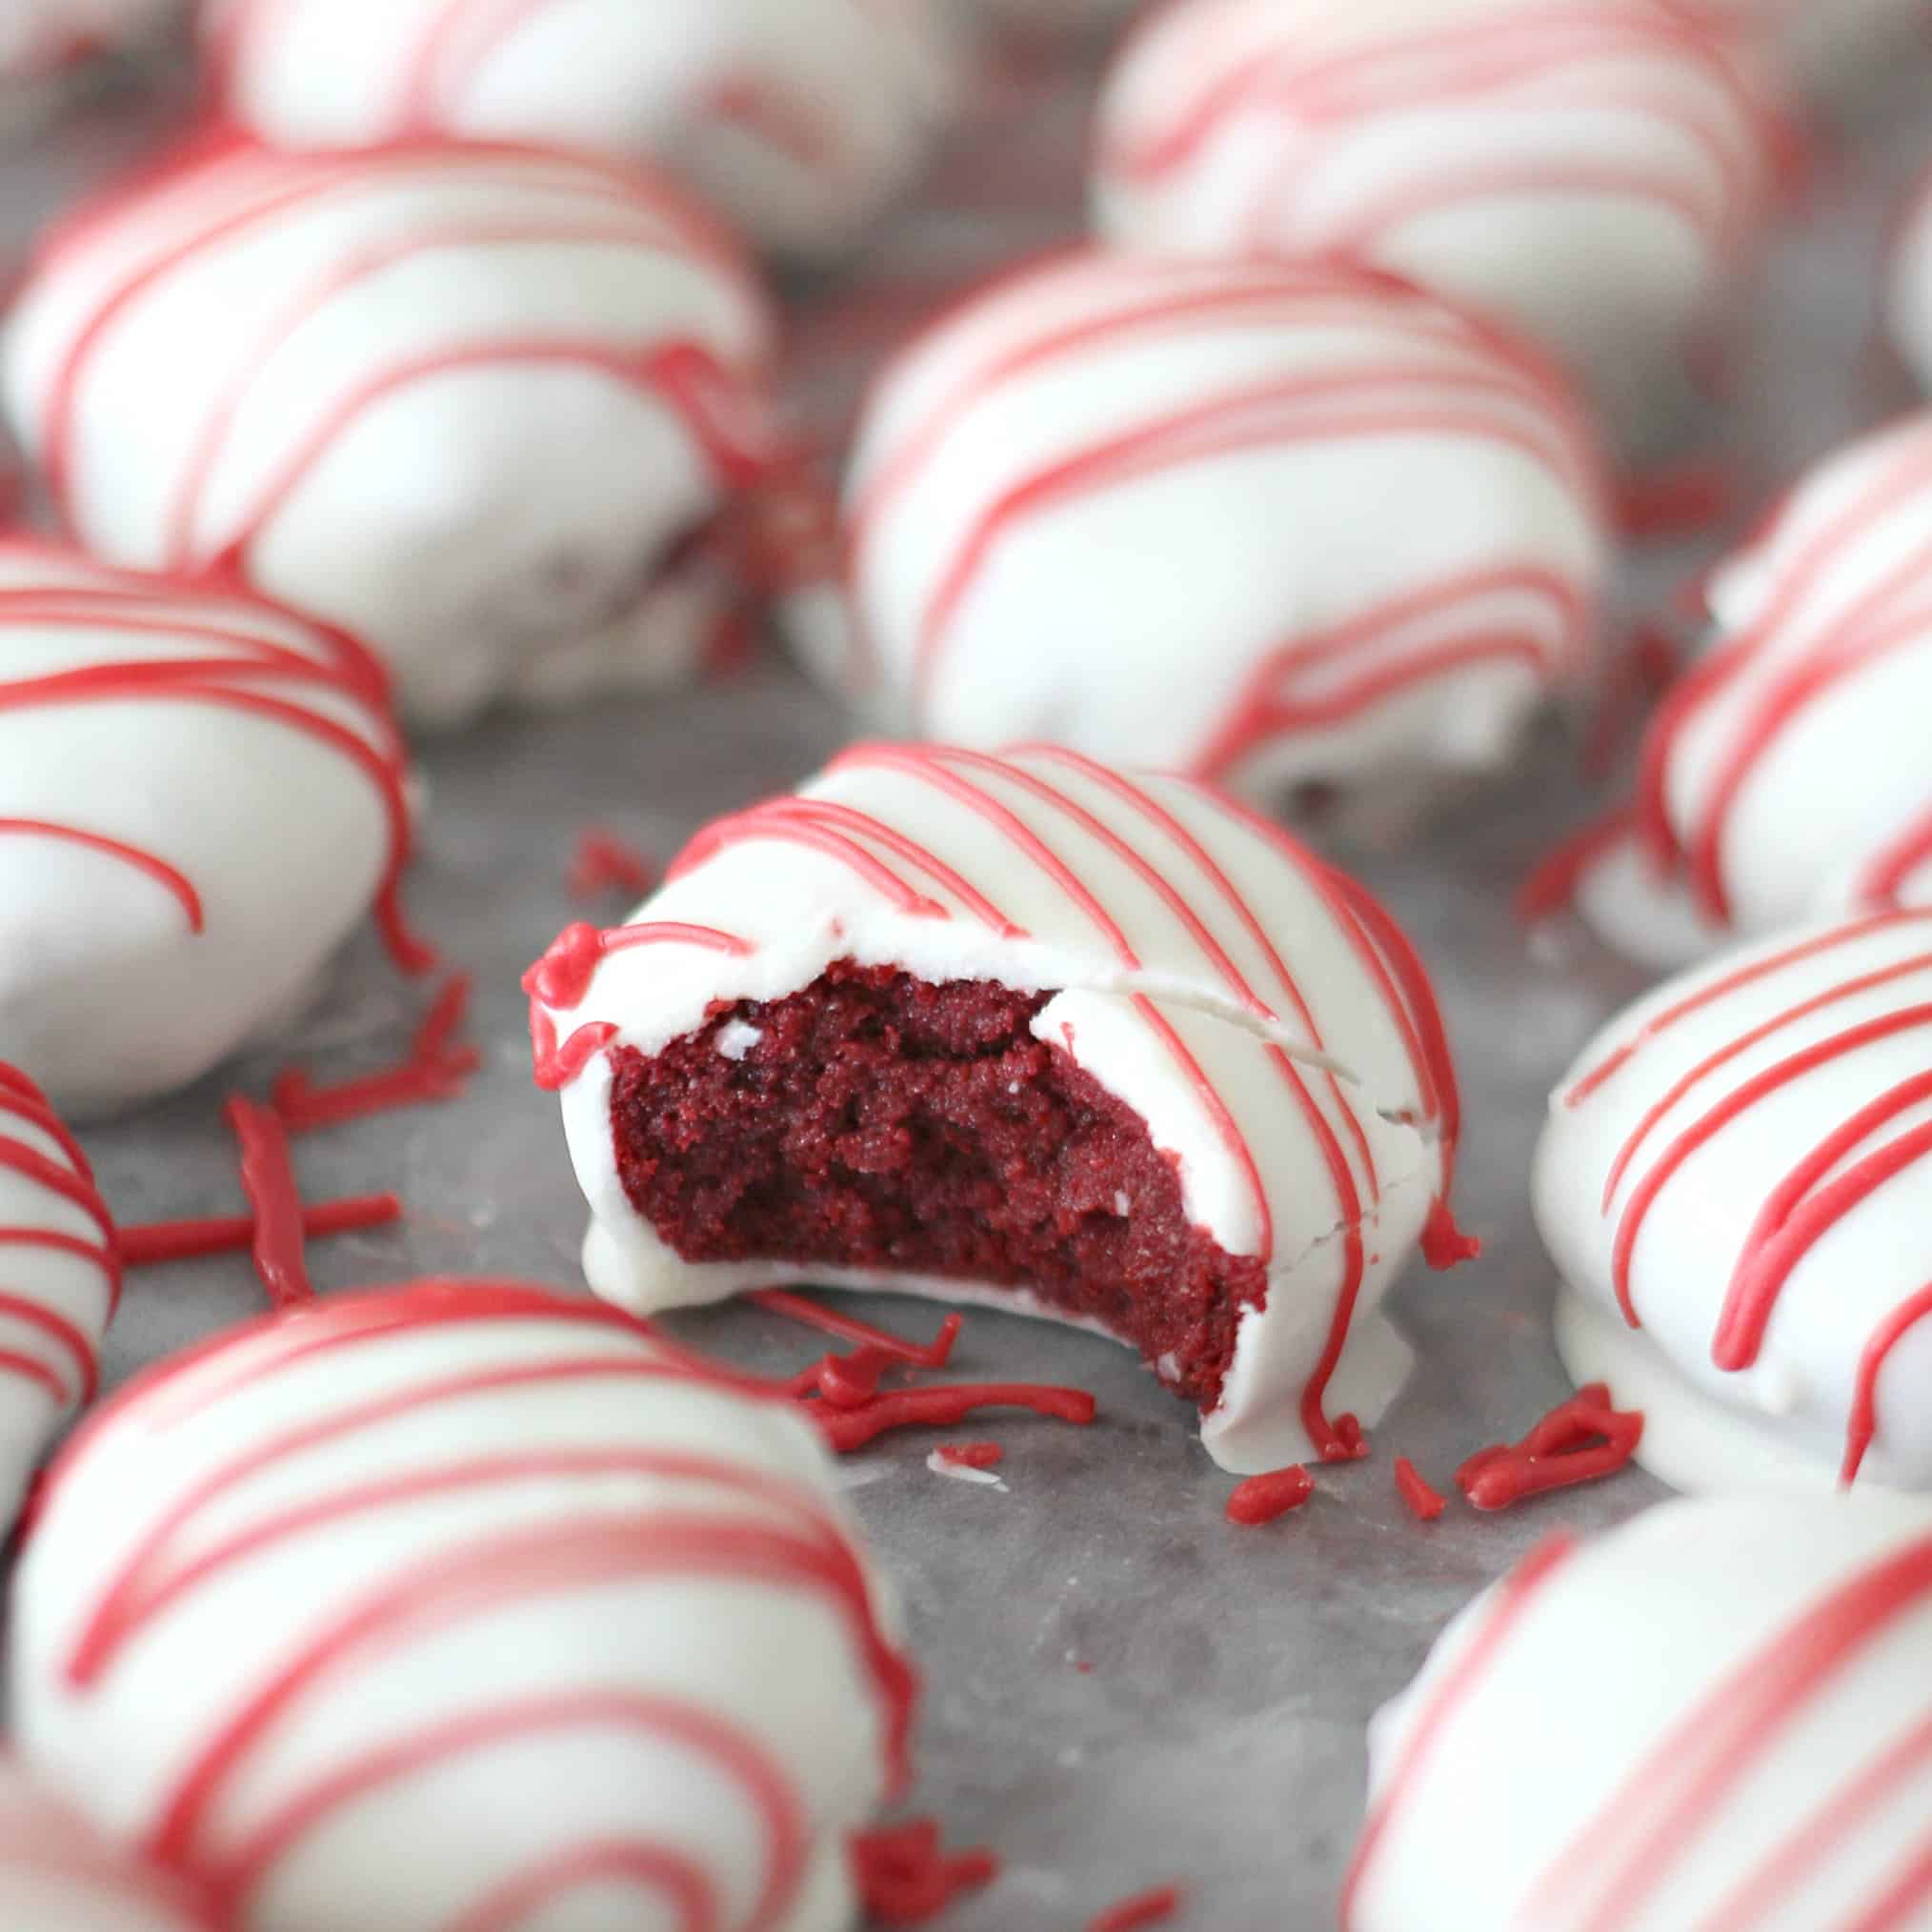
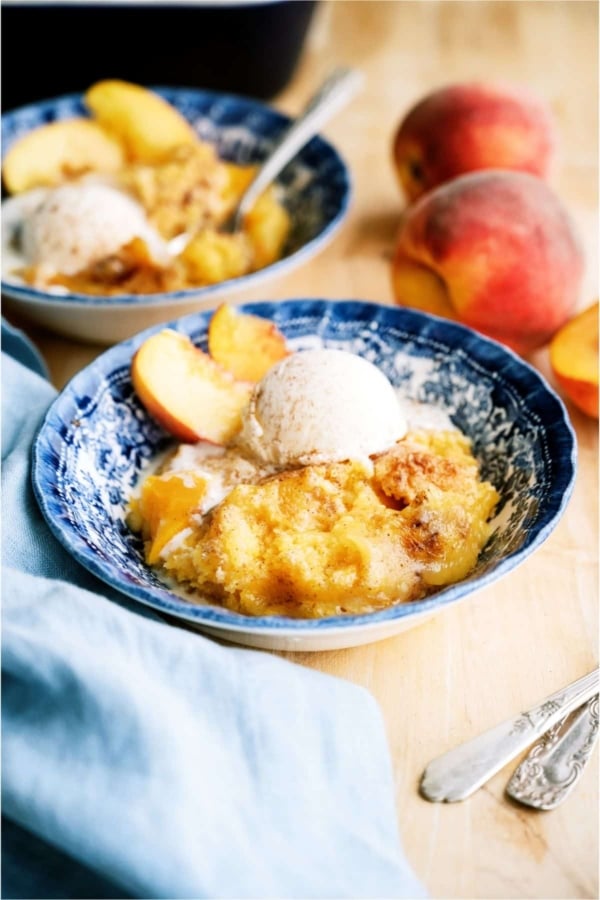
These Red Velvet Cake Bites taste like they are straight from a bakery!
There is a delicious shop here in Utah called The Sweet Tooth Fairy that makes the yummiest little baked goods – including cake bites.
Cake bites are basically the cake and frosting mixed together, then dipped in chocolate. One batch of cake bites makes a ton, so they would be perfect to give out as gifts or treats for neighbors.
Recipe Ingredient Notes
To make Red Velvet Cake Bites, you will need the following ingredients:
- Red Velvet Cake Mix
- Water
- Eggs
- Vegetable Oil
- Cream Cheese Frosting
- White Chocolate Candy coating or Almond Bark
- Red Candy Melts, optional for red stripes on top
Equipment Needed
For this recipe, you only need a few simple kitchen tools. We recommend using the following equipment:
How to make Red Velvet Cake Bites
- Bake the cake according to directions on the package.
- Let it cool completely (I put mine in the freezer for about 45 minutes to cool it down really fast . . . but you could also let it cool overnight)
- Put the entire cake in a bowl and crumble it up. I found that it was easiest to just use my hands to completely crumble the cake.
- Stir in your container of frosting into the crumbled cake (or homemade, if you choose to use that), about ½ cup at a time. Once it reaches a nice consistency that will hold together when you roll it in a ball, it’s perfect.
- Roll the mashed cake and frosting into balls. You can go as big or as small as you’d like, but keep in mind that these little bites are rich, so most people prefer smaller. If you want them to look more like authentic cake bites, smoosh them down so that they are shape of a disc (not so rounded-out like a ball). Place bites on a large baking sheet (like a cookie sheet) and place them into the fridge for about 30 minutes to set up.
- Melt white chocolate candy coating according to directions on back of package. I then used a skewer to dip each ball- I would poke it into the cake ball and dip it into the melted bark. I had to rotate each bite a couple of times to make sure it was evenly covered with chocolate.
- Stick the cake bite back onto the pan or onto wax paper.
- Let the bites set up. I stuck them back into the fridge because I wanted them to harden quickly, but you could leave them out and they will be just fine. If you are going to decorate them with sprinkles, make sure to do it before the candy coating hardens. If you are doing to drizzle with red candy melts, it works best if the cake bite coating has completely set up.
- To drizzle the candy melts on top, melt candy according to package directions.
- Spoon melted candy into a resealable sandwich bag.
- Clip a TINY corner on the bag and drizzle the candy melts onto each bite.
Storing and Other Tips
Store leftover Cake Bites in an airtight container in the refrigerator.
Remember that you can always add frosting, but you can’t always take it away. You will want to add a little bit of frosting at a time.
Don’t add the frosting all at once because if it becomes too gooey, they won’t work, and you won’t be able to roll them into balls.
Enjoy More Delicious Truffles Recipes
Making homemade candy makes us feel less guilty about our sweet tooth. Check out our comprehensive collection of candy recipes here.
- Chocolate Chip Cookie Truffles
- Oreo Cookie Truffles
- Reese’s Nutter Butter Cookie Truffles
- Peanut Butter Snowballs (No Bake Truffles)
Red Velvet Cake Bites
Ingredients
- 15.25 ounces Red Velvet Cake Mix, 1 box
- 1 ¼ cup water, listed on cake box
- 3 eggs, listed on cake box
- ½ cup vegetable oil, listed on cake box
- 16 ounces cream cheese frosting, 1 package (or homemade frosting)
- 1 pound white chocolate candy coating or almond bark
- 15 Red Candy Melts, optional for red stripes on top
Instructions
- Bake the cake according to directions on the package.
- Let it cool completely (I put mine in the freezer for about 45 minutes to cool it down really fast . . . but you could also let it cool overnight)
- Put the entire cake in a bowl and crumble it up. I found that it was easiest to just use my hands to completely crumble the cake.
- Stir in your container of frosting into the crumbled cake (or homemade, if you choose to use that), about ½ cup at a time. Once it reaches a nice consistency that will hold together when you roll it in a ball, it's perfect.
- Roll the mashed cake and frosting into balls. You can go as big or as small as you'd like, but keep in mind that these little bites are rich, so most people prefer smaller. If you want them to look more like authentic cake bites, smoosh them down so that they are shape of a disc (not so rounded-out like a ball). Place bites on a large baking sheet (like a cookie sheet) and place them into the fridge for about 30 minutes to set up.
- Melt white chocolate candy coating according to directions on back of package. I then used a skewer to dip each ball- I would poke it into the cake ball and dip it into the melted bark. I had to rotate each bite a couple of times to make sure it was evenly covered with chocolate.
- Stick the cake bite back onto the pan or onto wax paper.
- Let the bites set up. I stuck them back into the fridge because I wanted them to harden quickly, but you could leave them out and they will be just fine. If you are going to decorate them with sprinkles, make sure to do it before the candy coating hardens. If you are doing to drizzle with red candy melts, it works best if the cake bite coating has completely set up.
- To drizzle the candy melts on top, melt candy according to package directions.
- Spoon melted candy into a resealable sandwich bag.
- Clip a TINY corner on the bag and drizzle the candy melts onto each bite.
Notes
- Stir in your container of frosting about ½ cup at a time until you reach the right consistency.
- These bites are very rich. They taste best rolled small.
- Cover cookie sheet with wax paper for easy cleanup.


These look delicious! If I make these the day before an event, how do you recommend to store them overnight?
Store them in an airtight container in the fridge.
After you are finished making the cake balls, how long will they keep in freezer in airtight container or freezer bags??
If you have them packaged well, they should be fine for up to a month. (If they last that long) 🙂
I made these but failed with the candy coating, it was too liquid. I will have ti wait to try to put a second coating.
Where does the almond bark come in?
Step #6. Almond bark/White candy coating.
Would it still be good if I used regular chocolate coating instead of white?
What frosting did you use?
If using store bought we like the Betty Crocker Rich and Creamy Cream Cheese frosting. If using homemade, any buttercream cream cheese frosting is amazing.
Yes, if you like chocolate with your red velvet.